Thanks to its open-source platform and easy-to-use hardware and software, there’s literally thousands of Arduino projects detailed online for anyone to make. This project shows how to modify an inexpensive RC Car Kit so it can be controlled by Web interface. You can program the Arduino board to make the car do any direction of driving.
Step 1. Gathering materials

I used following materials.
- Mini Bot Kit from Sparkfun : The ProtoSnap MiniBot provides an Arduino-compatible controller, motor controller board, IR proximity sensors and lots of prototyping space all on one simple board.
- WizFi Shield from Wiznet : WizFi Shield utilizes fully certified WizFi210 wifi module to provide your Arduino with wireless capability. SPI interface is used to allow for faster transmission speed and to free up the Arduino’s UART. All the software and hardware materials are freely available and open source.
- Lithium-ion battery
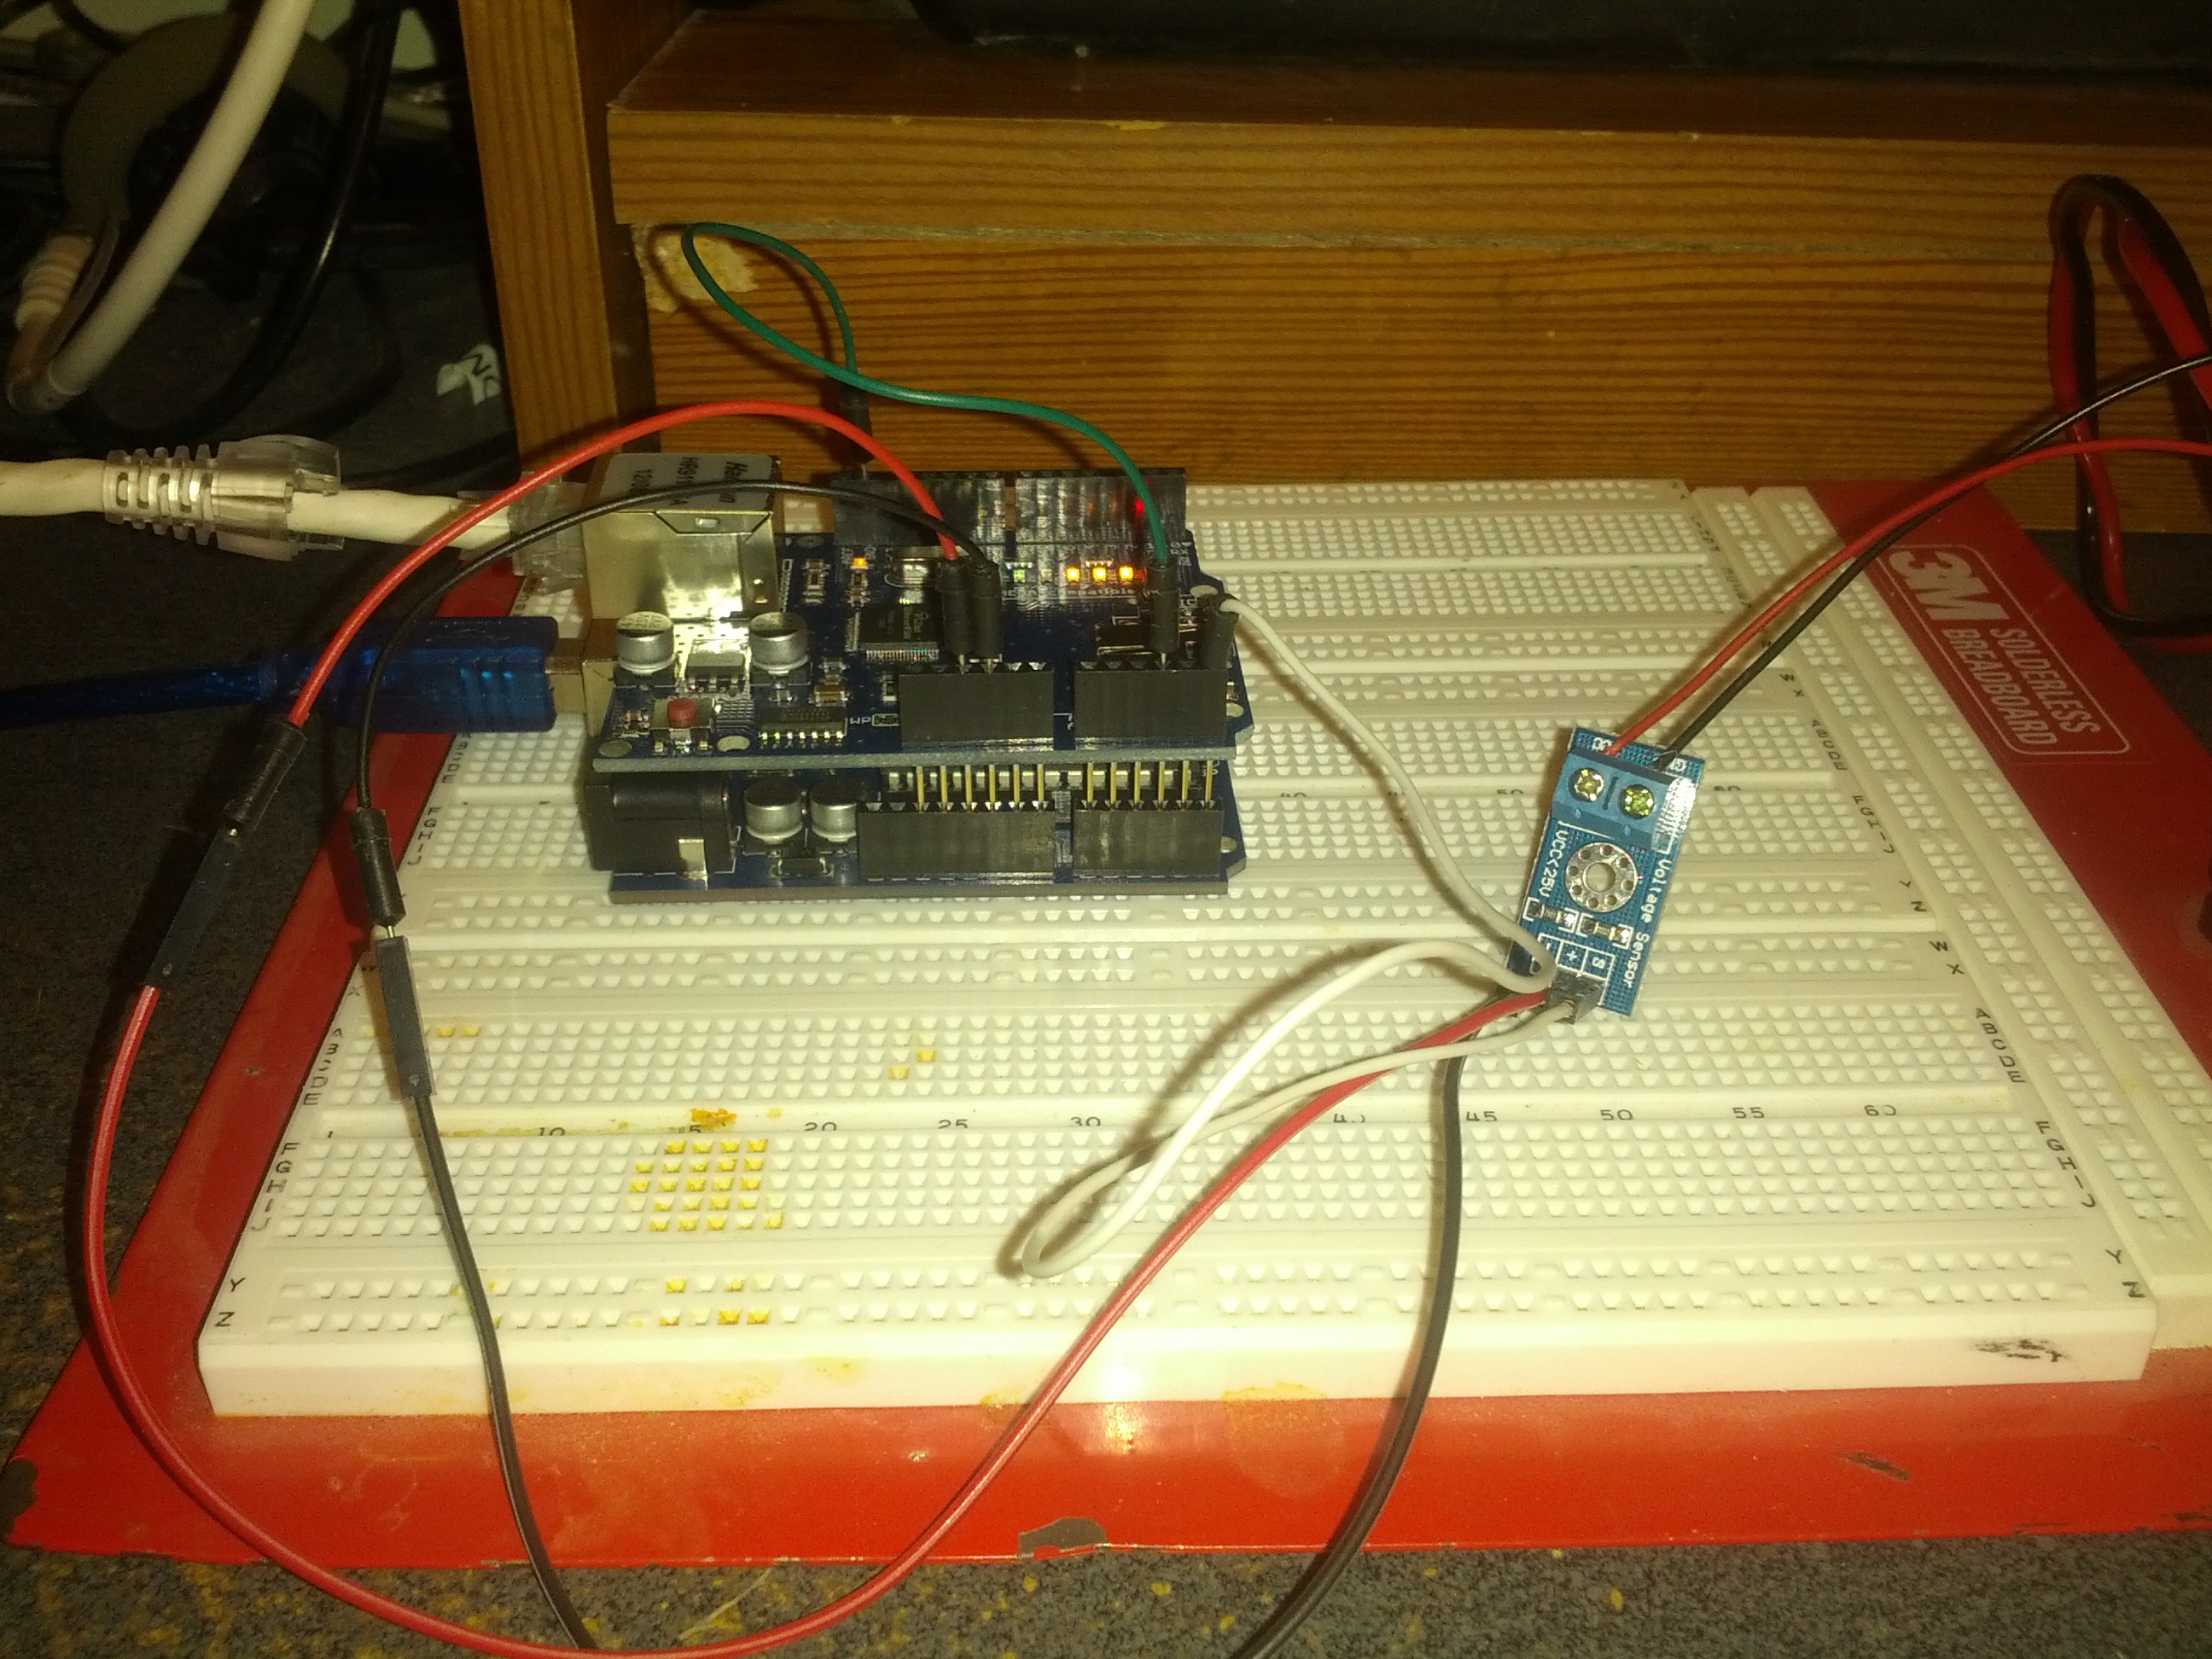
Step 2. Connect WizFi shield to Mini bot Kit

To control the RC Car with Wi-Fi, we need 6 GPIO and 1 analog pin are required as below.
Description | Arduino Compatible board | WizFi Shield |
SCLK | D13 | JP2.13 |
MISO | D12 | JP2.12 |
MOSI | D11 | JP2.11 |
/SS_WIFI | D10 | JP2.4 |
Data_ready | D9 | JP2.3 |
WIFI_RST | D8 | JP2.2 |
Battery Voltage detector | A2 | Connect to Battery Vout after dividing voltage |
Step 3. Codes
Sparkfun’s tutorial uses 3 pins to control but we need 6 pins to control 2 wheels respectively. The codes are as below.
[gist id=”5660943″]
When you connect to your WizFi Shield by web browser, you can see above web page and you can control the direction of RC car. If you click the button, web browser send the HTTP GET message and WizFi shield parse it and control the motor.
Below code show how to parse the HTML request, control motors and making HTML page.
[gist id=”5661019″]myHTMLParser.Parsing() function is parsing the received data and GetNextLine() function makes the HTML page according to browser’s request.
COMMENTS