This tutorial shows how to use various sensors and items with an Internet connected Arduino. The author explains how to program Arduino & HTML in 10 steps, and provides all source codes.
This project assumes that one has some working knowledge of basic HTML/Java, programming an Arduino, and working with various sensors.
It will program the Arduino to serve up a webpage that displays information about two sensors (LM35 Temperature Sensor, PIR Motion Sensor) and allows one to toggle an LED on and off, as well as adjust the angle of a Servo Motor.

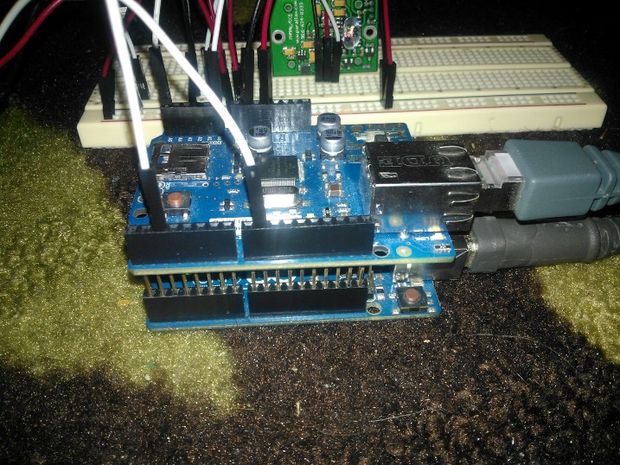
Arduino Ethernet Shield. It’s a very handy shield for the Arduino which, obviously, allows you to put your Arduino on the Internet, and, consequently, gives you the ability to serve up a custom web page.
The IDE comes bundled with a library for the shield, as well some example sketches to get your feet wet, but before you can start remotely controlling your Arduino,there are a few steps to take to get all of your hardware talking to eachother.
First up, you’ll want to enable port forwarding on your internet router (if applicable). Doing so is mostly device specific, but a quick Google search on your own router and port forwarding should get you going.
You’ll need also to identify the MAC address to your ethernet shield. This is unique to newer models, and should be labeled on the box it came in, but for older models, you should be able to create one. More information at http://arduino.cc/en/Guide/ArduinoEthernetShield.
Your IP address for your shield is also needed. If you’re running windows, this will be easy to find. Usually, windows will automatically assign one to it (or so it seems). Open up your command prompt and enter ipconfig. It should be labeled there, and you can use that address to identify the IP address in the Arduino sketch.
For more detail about this tutorial visit Instructable.com
COMMENTS