Internet Devices for Home Automation

details

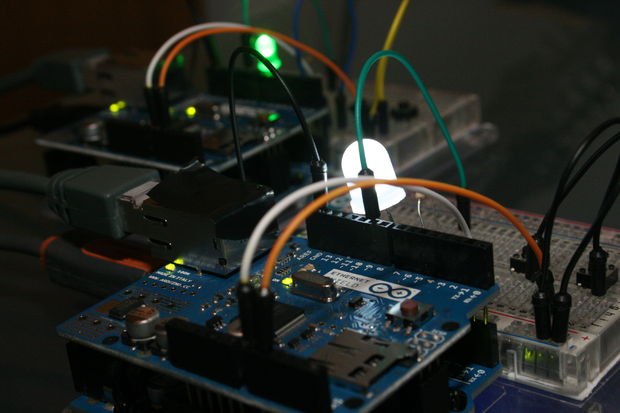
This instructable shows the principles involved in making devices to control home automation over the internet. 

F0EISI1HD2RW9GV_MEDIUM


In contrast to devices controlled from a web browser or phone, these are designed to be simple, Arduino based devices that are capable of talking to each other bi-directionally. They may be in the same house or in different buildings and may have one way communication (e.g. a light switch and light) or two way (e.g. an automation controller).


FE9SQ0VHD2RU0XN_MEDIUM


It’s possible to have local Device/Relay combinations to control Mains socket power to TVs, Computers etc..

Also you could see this working in building control. Commercial examples that work over local or proprietary interfaces are : Clipsal C-Bus, X10, Bus-SCS.

Practically speaking, it would make most sense to have one device per room with several switches, sensors and possibly low-voltage motors wired into it, and one device at the distribution board controlling relays or dimmers.

A major factor in Energy Waste is having Lights on too brightly during periods when a room is adequately lit from Natural Light. Adding a Light Sensor Device in a Room with a Dimmable Light Device significantly increases Energy Efficiency by controlling the Room Light in response to the sensed light in the room.

For each Device you will need:
* An Arduino (Uno)
* An Ethernet shield (or Wifi)

To prototype:
* A breadboard
* Some LEDs, Wires and Switches

For Mains Control:
* A Mains Relay Arduino Shield (e.g. http://www.dfrobot.com/index.php?route=product/product&product_id=496)

FM1LB2LHD2RMT2W_MEDIUM


We’re going to use UDP for communication over the Internet.

UDP is an Internet Protocol (so is TCP). So our communications will be UDP/IP.
http://en.wikipedia.org/wiki/User_Datagram_Protocol

Source : http://www.instructables.com/id/Internet-Devices-for-Home-Automation/?ALLSTEPS


COMMENTS

Please Login to comment
  Subscribe  
Notify of