This Control servo motor over the internet via arduino with teleduino. using the internet to remote the servo motor. main device is Arduino Uno / Mega and Ethernet shield(Wiznet based). and Ethernet enabled Arduino with the Teleduino sketch loaded.
This tutorial will guide you through the process of attaching a servo to your Arduino, and provide some example Teleduino API call to:
- Define a servo instance
- Set the position of a servo
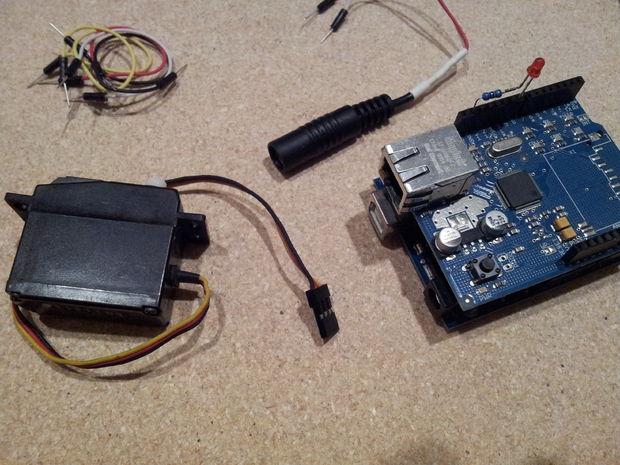
You need the following parts to complete this tutorial:
- Ethernet enabled Arduino with the Teleduino sketch loaded
- Breadboard (optional, but makes prototyping much easier)
- Dedicated 5V power supply for the servo(s) (optional, but recommended because servos can draw high current causing your Arduino to reset)
- Servo
- Some hookup wire
Circuit Diagram
The circuit is pretty simple, but sometimes a picture can paint a thousand words! Take a look at the attached circuit diagram to see how to connect the servo to the Arduino board and external power source.


The image shows the circuit put together using hookup wire and a breadboard. Compare this against the circuit diagram in the previous step to help put your own circuit together.
Do a quick Google search to work out the pin-out for your particular servo.
For the servo used in the tutorial: yellow = signal, red = 5V, black = GND.
Any available digital pin on the Arduino can be used, just make sure you take note of which pin you connect it to so that you can reference it in the API calls later in the tutorial.


COMMENTS