
You can build an Ethernet gateway using almost any Arduino model.
There are a couple of different Ethernet modules on the market. We recommend using the WIZnet W5100 which offloads the Arduino MCU and leaves more memory for the gateway code.
Wiring Things Up
The radio module must connected a little differently than the standard sensor connections so make sure to carefully follow the wiring instructions below.

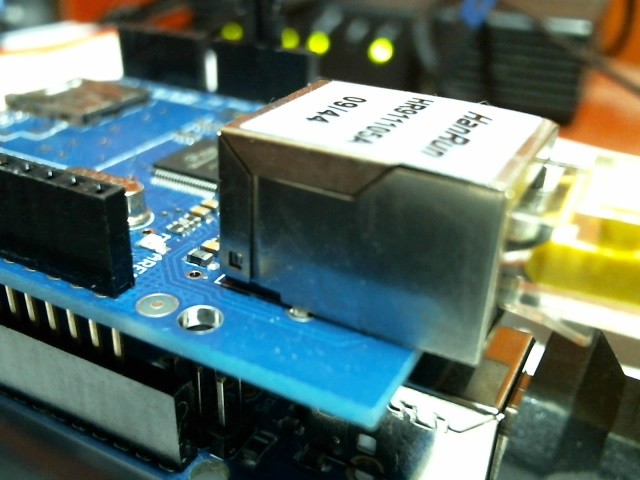
WIZnet (W5100) Ethernet module
| ARDUINO | NRF24L01 RADIO | ETHERNET MODULE |
|---|---|---|
| GND | GND | GND |
| 3.3V | VCC | VCC |
| 13 | SCK | |
| 12 | MISO/SO | |
| 11 | MOSI/SI | |
| 10 | SS/CS | |
| A2 | MISO | |
| A1 | MOSI | |
| A0 | SCK | |
| 6 | CSN | |
| 5 | CE |
NOTE: See configuration notes below!

NRF24L01 Radio module
| ARDUINO | NRF24L01 RADIO | ETHERNET MODULE |
|---|---|---|
| GND | GND | GND |
| 3.3V | VCC | VCC |
| 13 | SCK | SCK |
| 12 | MISO | MISO/SO |
| 11 | MOSI | MOSI/SI |
| 10 | SS/CS | |
| 6 | CSN | |
| 5 | CE |
NOTE: Ethernet module should be powered with 3.3V if nothing else is stated.
Configuration
WIZnet W5100: Edit RF24_config.h in (XXX/libraries/MySensors/utility) to enable softspi (remove // before “#define SOFTSPI“).
This must be reverted back when you have compiled and uploaded code to your gateway.
ENC28J60: Enable correct Ethernet library as illustrated below:
#include <UIPEthernet.h>  // Use this if you have attached a Ethernet ENC28J60 shields
//#include <Ethernet.h>   // Use this for WizNET module and Arduino Ethernet Shield
Select the static IP address and port you want to use for the gateway.
#define IP_PORT 5003        // The port you want to open
IPAddress myIp (192, 168, 178, 66);  // Configure your static ip here
Finally, compile and upload the modified sketch to your Arduino Gateway using the Arduino IDE.
…
Source: mysensors
COMMENTS