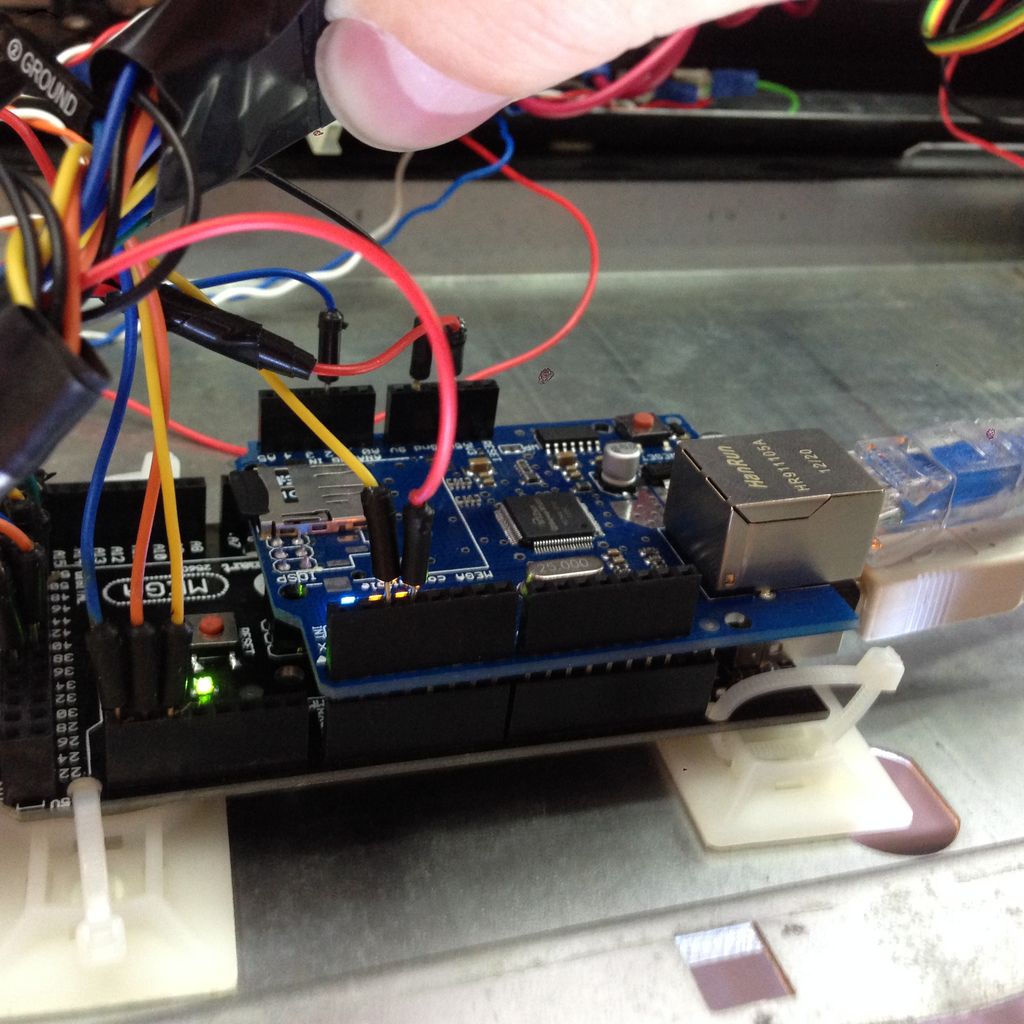
This project is about a vending machine controlled by RFID cash system & Arduino.
It works with following features.
1) Reads the RFID tag and uses it the same as the number on the tag
2) Pricing is loaded from the SD card
3) Every RFID Tag is stored as a separate file on the SD card containing the card number, email address, value
4) Current Time is read in from a NTP server
5) Email is sent out to the card holder with current amount available on their card at every purchase
6) Every Friday from 4:30 – 6 PM the machine automatically goes into Free Mode and using a rfid tag will get you a free drink
7) with a tag that has been set to Admin mode – Using the drink buttons:
– option 1:add money to the last scanned RFID tags account in increments of .25 -.25,1.00,-1.00, 5.00 -5.00.
– option 2: set the machine into free drink mode
– option 3: turn off free drink mode
– option 6: reset the arduino device
8) Web server code is added , so that you can log in to the arduino and update the cards.
You can get more detail about this project and source code from Instructables.
COMMENTS