
* Link
http://bildr.org/2011/06/arduino-ethernet-pin-control/
* Category
Web server, Remote Control
* Project feature
It is a simple project to control led via internet with arduino and ethernet shield.
It shows the source code & example video.
we can learn simple webserver with this project.
* How does it work
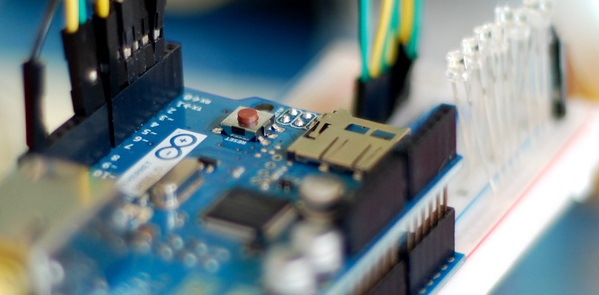
The Arduino Ethernet Shield is capable of being both a client (like a web browser), and a server, and with the onboard SD card-slot can be quite powerful by hosting up full websites, but for this article we are just looking at using the Arduino as a server and you will control it simply by going to a specific URL.
Note that the Ethernet Shield uses digital pins, 10, 11, 12, and 13 for itself, so it is best to leave these alone and not try to use them for anything else.
*Etc
H/W ready (very simple)
available S/W code
no more document
Code
//ARDUINO 1.0+ ONLY
//ARDUINO 1.0+ ONLY

#include
#include
boolean reading = false;

////////////////////////////////////////////////////////////////////////
//CONFIGURE
////////////////////////////////////////////////////////////////////////
//byte ip[] = { 192, 168, 0, 199 }; //Manual setup only
//byte gateway[] = { 192, 168, 0, 1 }; //Manual setup only
//byte subnet[] = { 255, 255, 255, 0 }; //Manual setup only

// if need to change the MAC address (Very Rare)
byte mac[] = { 0xDE, 0xAD, 0xBE, 0xEF, 0xFE, 0xED };

EthernetServer server = EthernetServer(80); //port 80
////////////////////////////////////////////////////////////////////////

void setup(){
Serial.begin(9600);

//Pins 10,11,12 & 13 are used by the ethernet shield

pinMode(2, OUTPUT);
pinMode(3, OUTPUT);
pinMode(4, OUTPUT);
pinMode(5, OUTPUT);
pinMode(6, OUTPUT);
pinMode(7, OUTPUT);
pinMode(8, OUTPUT);
pinMode(9, OUTPUT);

Ethernet.begin(mac);
//Ethernet.begin(mac, ip, gateway, subnet); //for manual setup

server.begin();
Serial.println(Ethernet.localIP());

}

void loop(){

// listen for incoming clients, and process qequest.
checkForClient();

}

void checkForClient(){

EthernetClient client = server.available();

if (client) {

// an http request ends with a blank line
boolean currentLineIsBlank = true;
boolean sentHeader = false;

while (client.connected()) {
if (client.available()) {

if(!sentHeader){
// send a standard http response header
client.println(“HTTP/1.1 200 OK”);
client.println(“Content-Type: text/html”);
client.println();
sentHeader = true;
}

char c = client.read();

if(reading && c == ‘ ‘) reading = false;
if(c == ‘?’) reading = true; //found the ?, begin reading the info

if(reading){
Serial.print(c);

switch (c) {
case ‘2’:
//add code here to trigger on 2
triggerPin(2, client);
break;
case ‘3’:
//add code here to trigger on 3
triggerPin(3, client);
break;
case ‘4’:
//add code here to trigger on 4
triggerPin(4, client);
break;
case ‘5’:
//add code here to trigger on 5
triggerPin(5, client);
break;
case ‘6’:
//add code here to trigger on 6
triggerPin(6, client);
break;
case ‘7’:
//add code here to trigger on 7
triggerPin(7, client);
break;
case ‘8’:
//add code here to trigger on 8
triggerPin(8, client);
break;
case ‘9’:
//add code here to trigger on 9
triggerPin(9, client);
break;
}

}

if (c == ‘\n’ && currentLineIsBlank) break;

if (c == ‘\n’) {
currentLineIsBlank = true;
}else if (c != ‘\r’) {
currentLineIsBlank = false;
}

}
}

delay(1); // give the web browser time to receive the data
client.stop(); // close the connection:

}

}

void triggerPin(int pin, EthernetClient client){
//blink a pin – Client needed just for HTML output purposes.
client.print(“Turning on pin “);
client.println(pin);
client.print(“
“);

digitalWrite(pin, HIGH);
delay(25);
digitalWrite(pin, LOW);
delay(25);
}в каком банке оформить рефинансирование
COMMENTS