< Weather Reporter – Temboo, Ethernet and Arduino >
Project:
Arduino is well known for the large variety of sensors / modules that can be connected. It is quite easy to hook up a temperature or humidity sensor to get instant feedback about the surrounding environmental conditions. However, sometimes you do not have a temperature sensor. Sometimes you have a sensor, but would like to know the temperature in other cities ! Or you would like to know what the temperature will be tomorrow?
Components:
1. 2 x Arduino UNO (or compatible board)
2. Ethernet Shield
3. ITDB02-1.8SP TFT LCD Module
4. Solderless Breadboard Jumper wires
5. Mini Breadboard 4.5cm x 3.5cm
6. Protoshield
code – http://arduino463.rssing.com/chan-21282407/latest.php
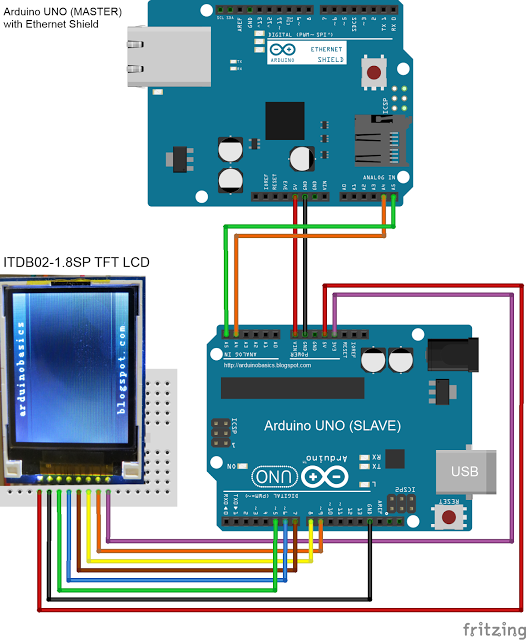
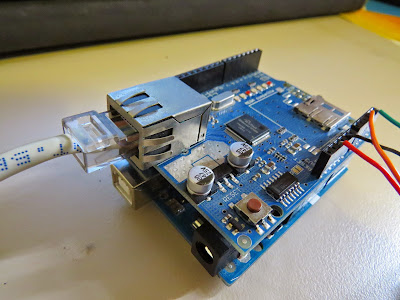
(Step 1) Ethernet Shield.
Place the Ethernet shield onto the Arduino MASTER. Connect an Ethernet cable (RJ45) to the Ethernet shield. The other end will be connected with your internet router.
(Step 2) Arduino SLAVE and TFT LCD module.
You can either wire up the TFT LCD module on a breadboard, or you can use a ProtoShield with mini-breadboard. It doesn’t really matter how you hook it up, but make sure you double check the connections and the TFT specifications before you power it up. I have powered the Arduino Slave by connecting it to the Arduino Master(Refer to below page to see fritzing sketch).
URL – http://arduino463.rssing.com/chan-21282407/latest.php
COMMENTS