Axeda provides advanced cloud-based service and software for managing connected products and machines and implementing innovative Machine-to-Machine [M2M] and Internet of Things (IoT) applications
The Axeda IoT Cloud Service includes
- Axeda Connect – IoT Connectivity Middleware
- Axeda Build – IoT Application Enablement Platform
- Axeda Manage – Connected Machine Management Applications
If you want to know more about AXEDA Cloud service, click here.
From this tutorial, you can learn the basic skills about how to use the AXEDA service and send the data from the device to the AXEDA cloud.
<Go to the staging page on your AXEDA Toolbox account>
Go to the page http://toolbox.axeda.com and register your account.
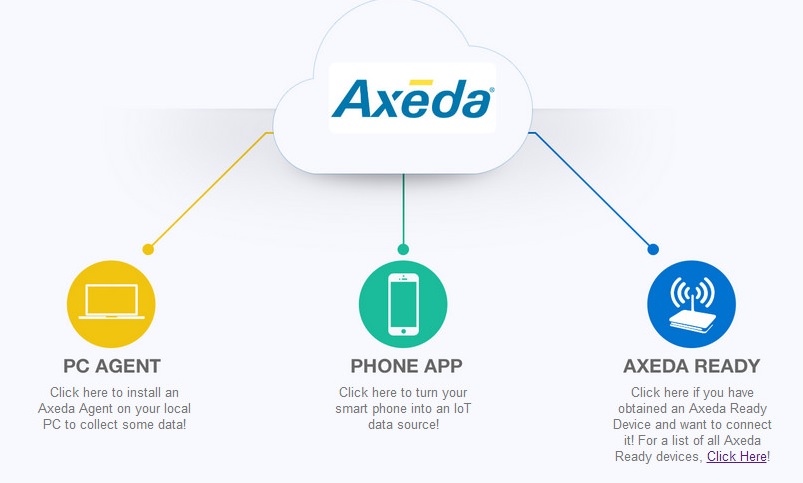
As you see below, click the AXEDA READY icon and select ‘mbed LPC1768 Device”


We are going to use the WIZwiki-W7500 board, but it’s not supported yet by AXEDA cloud. So, we are going to use the LPC1768 toolbox.
Input the “Device Name” and click “Go” button. You can see the web page as below. As the serial number is required to operate the AXEDA example code, you must remember it.

<Materials>
For this project, we need below hardware.


Sensor Shield

Hardware Configuration

<Compile AxedaGo-WizFi250 Example onto WIZwiki-W7500 Board>
Connect to below link and get the WizFi250 AXEDA example code.
Link for AxedaGo-WizFi250 Example

Before compiling the example, add the serial number that you got from AXEDA Tool box.

After compiling the code, upload the binary to WIZwiki-W7500 board.
<Source Code>
#include <stdio.h>
#include "mbed.h"
#include "WizFi250Interface.h"

#define SECURE WizFi250::SEC_AUTO
#define SSID "ssid"
#define PASS "key"

#if defined(TARGET_WIZwiki_W7500)
    WizFi250Interface wizfi250(D1,D0,D7,D8,PA_12,NC,115200);
    Serial pc(USBTX,USBRX);
#endif

AnalogIn pot1(A0);
TCPSocketConnection sock;

DigitalOut led1(LED1);
DigitalOut led2(LED2);
DigitalOut led3(LED3);
DigitalOut led4(LED4);

int main()
{
    char *MODEL = "mbed";
    char *SERIAL_NUM = "serial number";
    float DEADBAND = 0.03;

    int http_cmd_sz=800;
    char http_cmd[http_cmd_sz];
    int buffer_sz=300;
    char buffer[buffer_sz];
    int returnCode = 0;

    led1 = 1;
    led2 = 1;
    led3 = 1;
    led4 = 1;

    pc.baud(115200);

    wizfi250.init();
    returnCode = wizfi250.connect(SECURE, SSID, PASS);

    if ( returnCode == 0 )
    {
        printf(" - WiFi Ready\r\n");
        printf("IP Address is %s\r\n", wizfi250.getIPAddress());
        led1 = returnCode;
    }
    else
    {
        printf(" - Could not initialize WiFi - ending\r\n");
        return 0;
    }

    float oil_level = 0.0;
    float oldPotVal = -2.0;

    while(1) {
        oil_level = pot1.read();

        if ( abs(oil_level - oldPotVal) < DEADBAND)
        {
            continue;
        }
        else
        {
            oldPotVal = oil_level;
            printf("Sending Value for well1 %.2f\n\r", oil_level);
            sock.connect("toolbox-connect.axeda.com", 80);

            snprintf(http_cmd, http_cmd_sz,  "POST /ammp/data/1/%s!%s HTTP/1.1\r\nContent-Type: application/json\r\nContent-Length: 65\r\n\r\n{\"data\":[{\"di\":{\"oil_level\":%.2f}}]}\r\n\r\n", MODEL, SERIAL_NUM, oil_level);
            sock.send_all(http_cmd, http_cmd_sz-1);

            while ( (returnCode = sock.receive(buffer, buffer_sz-1)) > 0)
            {
                buffer[returnCode] = '\0';
                printf("Received %d chars from server:\n\r%s\n", returnCode, buffer);
            }

            sock.close();
        }
     }
}
<Test Result>
Send data to the demo application
After performing the above code, WIZwiki-W7500 and WizFi250 will transmit the sensing data to AXEDA Tool box. With the sensing data, AXEDA Tool box will create the mbed widget. If you operate the A0 switch on the sensor shield, you can see the changes on the AXEDA mbed widget.

<Log message on Serial Terminal>
WizFi250: INFO]AT+MMAC=?
[WizFi250: INFO][OK]

[WizFi250: INFO]AT+WSET=0,wizohp
[WizFi250: INFO][OK]

[WizFi250: INFO]AT+WSEC=0,,wiznet218
[WizFi250: INFO][OK]

[WizFi250: INFO]AT+WJOIN
[WizFi250: INFO][OK]

[WizFi250: INFO]AT+WSTATUS
[WizFi250: INFO][OK]

[WizFi250: INFO]IP      : 192.168.13.29
[WizFi250: INFO]Gateway : 192.168.13.1
[WizFi250: INFO]WizFi250 is successfully join to AP
 - WiFi Ready
IP Address is 192.168.13.29
Sending Value for well1 0.54
[WizFi250: INFO]AT+FDNS=toolbox-connect.axeda.com,1000
[WizFi250: INFO][OK]

[WizFi250: DBG]216.34.120.52
[WizFi250: INFO]AT+SCON=O,TCN,216.34.120.52,80,,0
[WizFi250: INFO][OK]

[WizFi250: INFO]AT+SSEND=0,,,799
[WizFi250: INFO][OK]

[WizFi250: INFO]POST /ammp/data/1/mbed!nlr__kaizen8501_gmail_com___6245114 HTTP/1.1
Content-Type: application/json
Content-Length: 65

{"data":[{"di":{"oil_level":0.54}}]}


[WizFi250: DBG]receive readable : 1

Received 36 chars from server:
HTTP/1.1 200
Content-Length: 0
<Demonstration Video>
COMMENTS