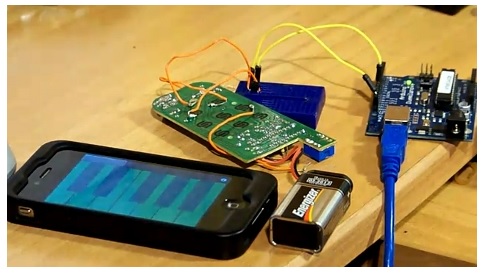

The project starts by interfacing an Arduino with the device you’d like to control. The circuit above patches into a remote control using a couple of transistors. Now the Arduino can simulate button presses on that remote, sending the signal to turn a light on or off. Next, TouchOSC is used for the smartphone – here it’s an iPhone but the suite works on Android as well. In the video after the break you can watch a quick interface design demo. Buttons are dragged into existence, uploaded to the phone, then configured to control you device over a network. A Processing sketch listens for OSC commands and then sends instructions to the Arduino via USB.
original post : http://hackaday.com/2011/03/31/using-touchosc-with-your-projects/
tag : 2011.03, W5100, Ethernet Shield, TouchOSC, Arduino, iphone
COMMENTS