BUILD INSTRUCTIONS
This is typical bread board project. We use any techniques we are comfortable with. We also use mix of soldering for the voltage and current collectors and use wire wrap to tie those collectors back to the Arduino.
COMPONENTS
- 1 × Arduno nao
- 1 × cheap ebay UNO W5100 network interface (non shield, but shield will work).W5100 Ethernet Network Module for Arduino UNO W5100
- 1 × pololu.com ACS715 Current Sensor (30 amps for my project but the 10,30 or 90A will work)Current Sensor module upto 30 amps
- 1 × Radio shack proto board to fit your prject box.Used to mount the current senor and voltage divider
- 1 × 10K ohm resistor and a 3K ohm pot. (pot only need if you want to adjust the voltage
- 1 × Project box, Mine was from ebay, anything will do.
- 12 × Anderson power pole connectors ( or whatever connectors you would like to use).
Basic hardware
Getting the basic hardware setup to do some testing of the voltage modules and the ethernet shield.
Current module testing
Testing the pololu.com current module and sketches. Using a calibrated volt/amp meter to validate my readings.

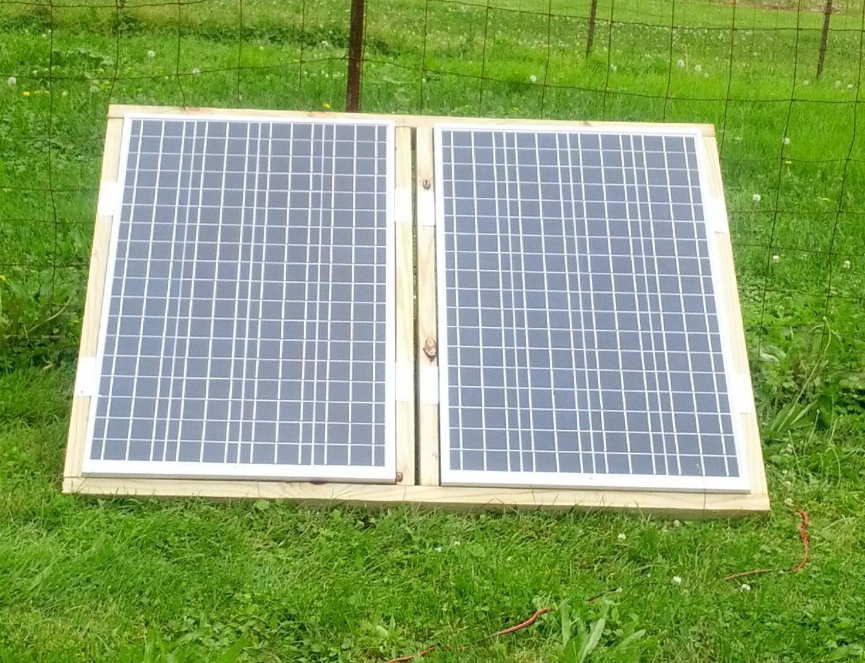
Panel time
I need to make some changes to where the solar panels were located and how they come into house so the controllers and monitoring systems would be close to a network connection. At least the panels are some what portable. here is a messy view of my charge controller. The dusty keyboard monitor are for my ESX box that sits on the top shelf and are not used as part of this project.

Web code updates
updated the web code to give a table view. Voltages are just simulated data, but you get the idea.


New panels collecting power

https://hackaday.io/project/402-web-based-solar-panel-monitoringmanagment
Please refer to the following link for more information. (Source , Project picture… )
https://hackaday.io/project/402-web-based-solar-panel-monitoringmanagment
COMMENTS