Overview :
This article shows you how to plug the Arduino Ethernet shield into an Arduino Uno, then connect it to an Ethernet cable and finally test that the Ethernet shield is working.
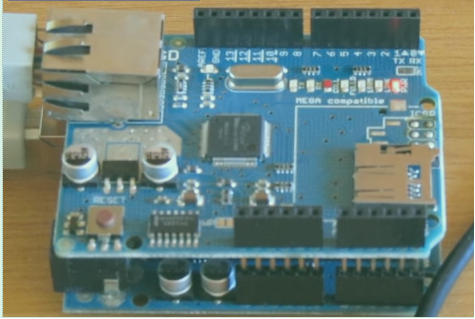
Required :
- Arduino Uno
- Ethernet shield(w5100)
Configuration :
First, the IP address of the PC is found. The WebServer sketch is then modified to use a different IP address, but in the same range as the PC. After loading the sketch to the Arduino, the IP address used in the sketch is entered into the URL field of the web browser. The web browser then connects to the Arduino web server, and the values of the Arduino analog pins are displayed. These values are updated every 5 seconds.
Dated : December, 2012
Original : https://startingelectronics.org/articles/arduino/arduino-ethernet-shield-plugging-testing/
COMMENTS