
Using IFTTT with BLynk
A write up that would show how to connect the maker (hardware) channel of IFTTT to hundreds of channels.

Components
-. Arduino UNO & Genuino UNO
-. Arduino Ethernet shield
-. Software : Arduino IDE
-. Cloud Service : IFTTT Website, Blynk Website
Story
I am writing this article relating to my Mood Lamp project. Using the maker channel of IFTTT with Blynk can be tricky. Below I have shown the steps involved to link your hardware with IFTTT’s maker channel.
IFTTT Website – https://ifttt.com/myrecipes/
Blynk Website – http://www.blynk.cc/
Documentation for Blynk- http://docs.blynk.cc/
First of all, you need to make your account on IFTTT and Blynk.
Install their apps from the play store.
For using Blynk you need a make a project for which you will be given an authentication token. Open The website of IFTTT and follow the following steps.
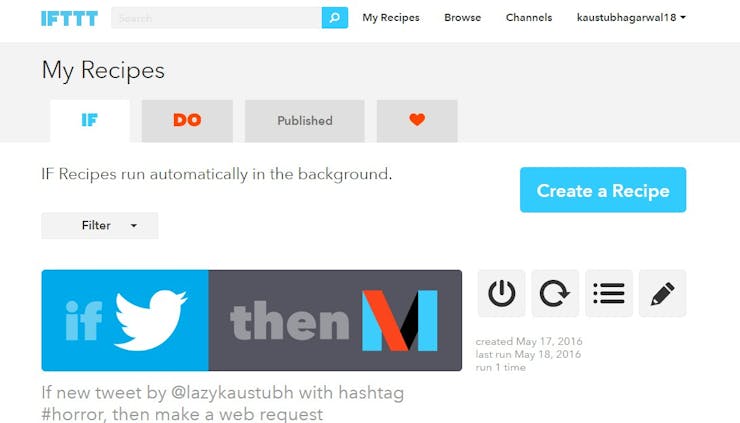
- Step 1- Click on Create a Recipe
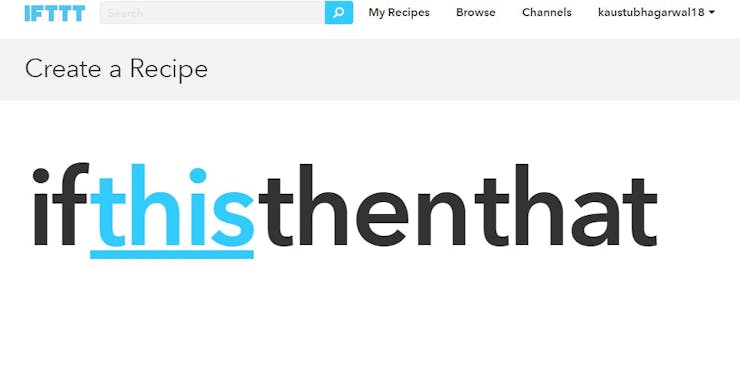
- Step 2 – Click on This
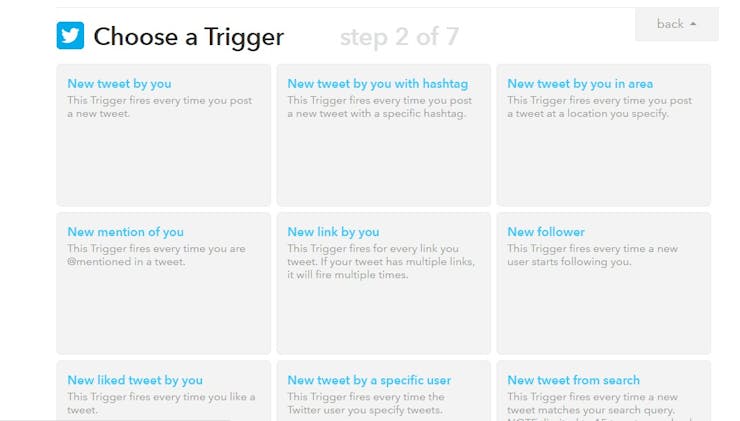
- Step 3 – Choose any channel (I have chosen Twitter)

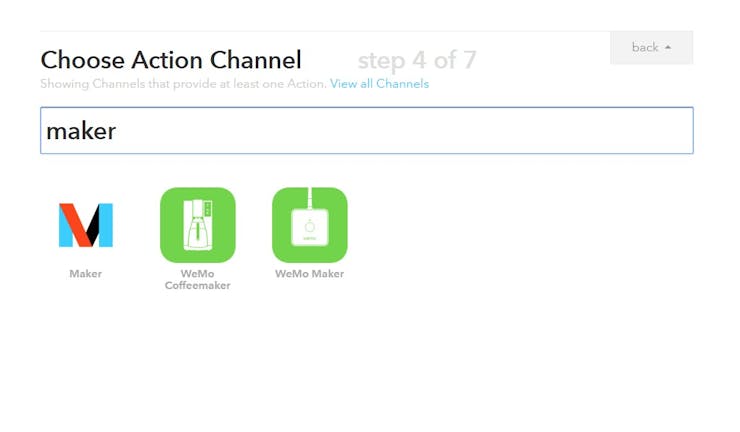
- Step 4-Choose accordingly(i Have used option 2)
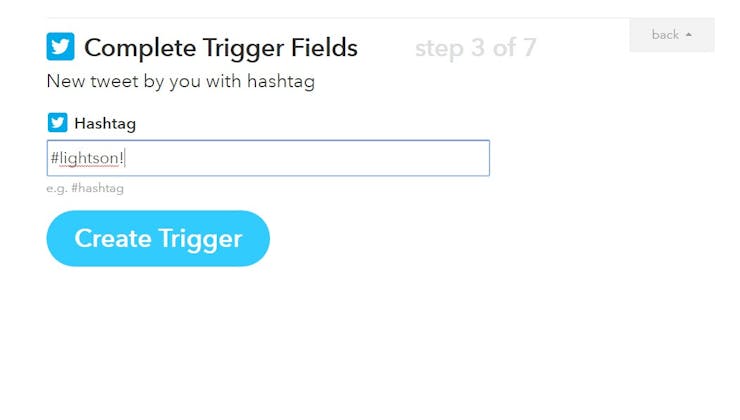
- Step 5- Write accordingly
- Step 6- Choose maker channel
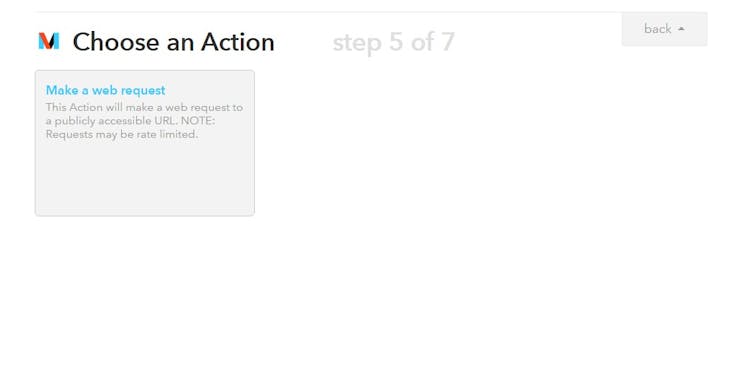
- Step 7- Choose to make a web request
- Step 8- Fill this accordingly (auth token and the pin like this (auth_token/pin/D7))

- Step 9- Click on create Recipe
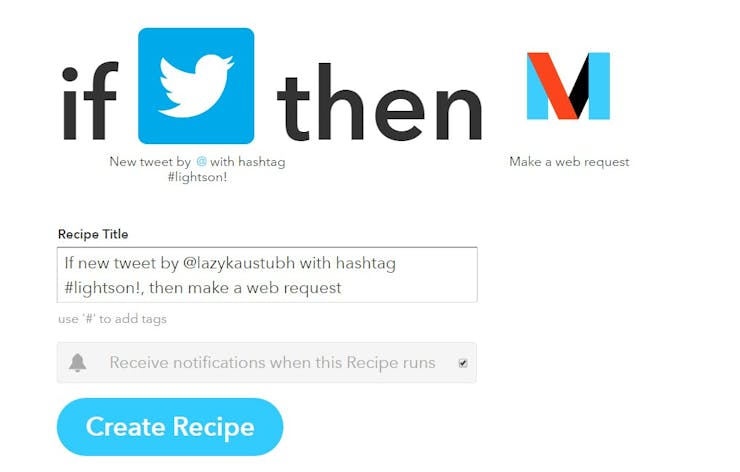
- Step 10- You are all set
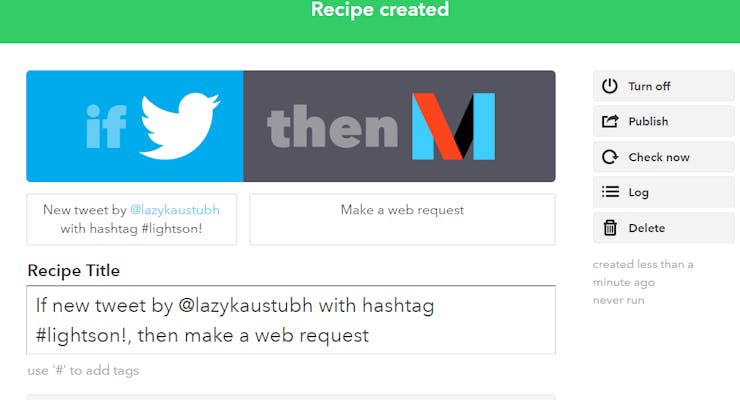
Step 11 – Open Blynk and make a new Project. You will receive a unique authentication token to use in your code. Drag and drop a button on the screen and assign it Digital Pin D7
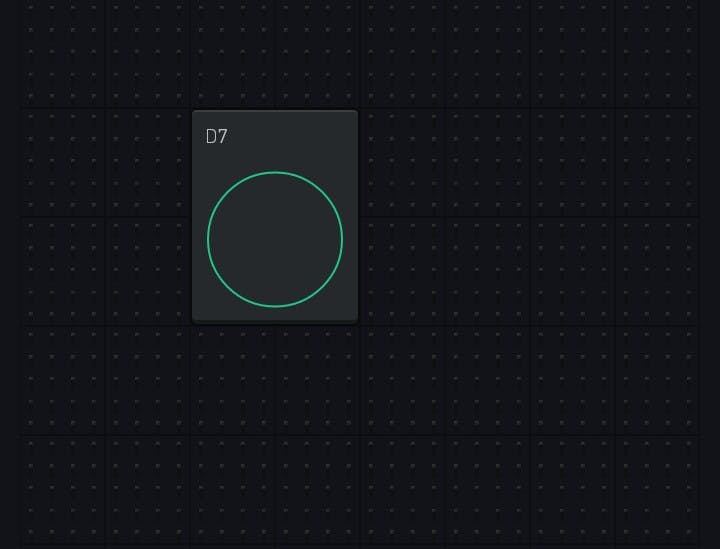
After this whenever you will tweet using #lightson, the pin D7 will go high. You can connect a led or light to it and it will go high as soon as you tweet this. Similarly, you can make multiple recipes and use different coloured LEDs to make your own mood Lamp.
For more information, please refer to the following link;
Source : https://www.hackster.io/KaustubhAgarwal/using-ifttt-with-blynk-a194a9?ref=search&ref_id=blynk&offset=5взять займ новая мфо без проверок.
COMMENTS