details
Thing+ Guide for Arduino(Arduino with WizFi250 & Non-SSL)
- Install Arduino IDE
- Environment Setting
- Arduino Firmware install
- Gateway Registration
- Firmware build and upload
1. Install Arduino IDE
1) Install Arduino IDE upon PC OS environment. Please use above version. 1.6.9.
2. Environment Setting
1) Connect Arduino and PC.
- Connect sensors as the following.

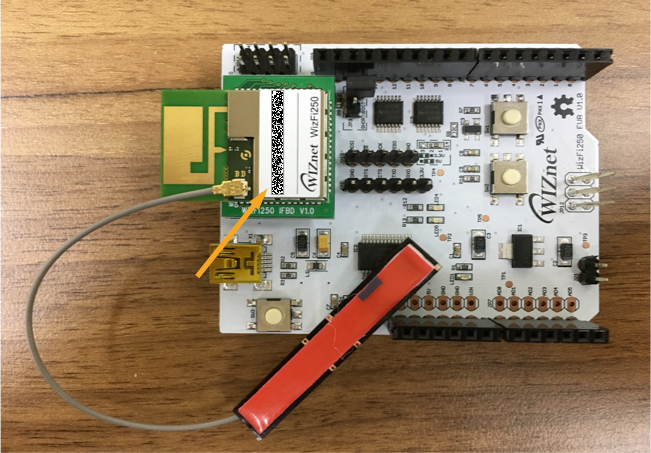
- Below is
WizFi250 EVBfrom wiznet. Check mac address at top of wizFi250 chip.
- Connect Arduino Uno(Orange Board) with grove shield and then Connect wizFi250 EVB on there.


2) Execute Arduino IDE.
3) Select USB for Arduino Port in IDE. (for windows, COMxx)
- Tools -> Port -> Arduino/Genuino Uno

For more information, refer to this URL.
http://support.thingplus.net/en/open-hardware/arduino-noSSL-wizFi250-user-guide.html
COMMENTS