Description:

How to measure the instantaneous power absorbed by the electrical system and send it to a display & sound a buzzer if max power is reached.
Hardware Components:
Arduino UNO & Genuino UNO × 1
Adafruit Standard LCD – 16×2 White on Blue × 1
Arduino Ethernet Shield 2 × 1
Buzzer × 1
emonTx v2 × 1
Introduction:
Some of us may have too many electric appliances operating at the same time so to pass the electrical power limit provided by our contract with the electric supplier. This leads to unpleasant “travels” to the energy meter to reattach the breaker. At least this is what happens in Italy. The last time I made up and down the stairs (I live at the second floor), I thought it would be really useful to have some device that would allow me to display the instantaneous power supplied to the household electric plant. So I would have been warned when the meter is going to “break away”.
From this idea, the Energy Alerter was born. The project consists of two parts, a server and a client, both made with an Arduino, and a couple of ethernet shields. It is inspired to Open Energy Monitor of which uses a slightly modified version of EmonTx V2.
Part 1
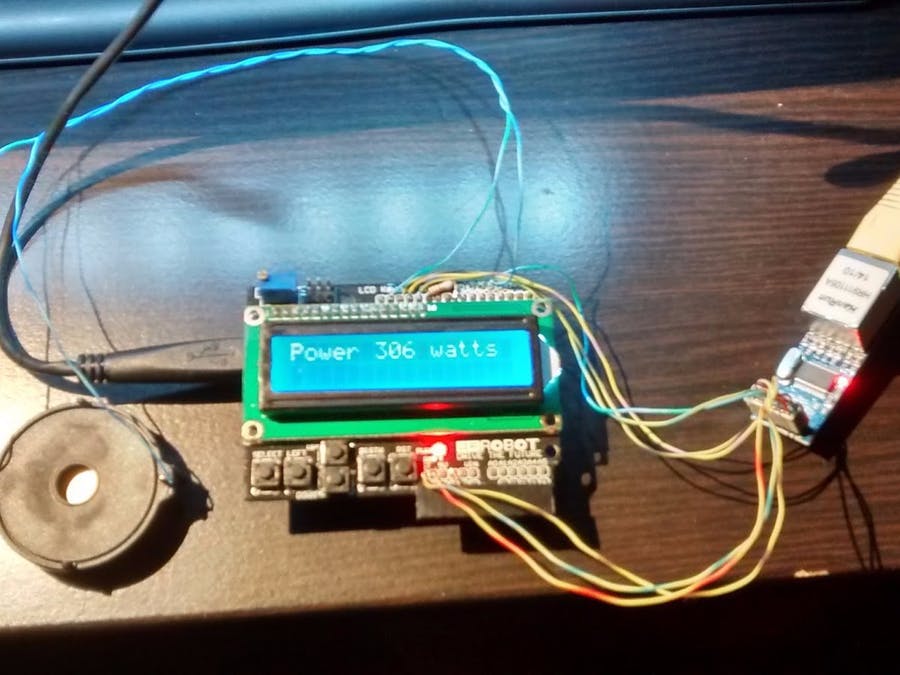
The purpose is to measure the instantaneous power absorbed by the domestic electrical system and send it via a simple socket server, to a client, that has the purpose to display it. The client also has a buzzer that warns if the maximum power is exceeded. This version of the client is connected via an ethernet shield to the home LAN and must be located close to an available Ethernet port (for example, those behind the wifi router). The client is built with:
- a “sandwich” consisting of an Arduino One and a shield with an LCD panel
- a mini-Ethernet board with ENC28J60
- a piezo buzzer
A wireless version of the client could be equipped with an ESP8266 form instead of ethernet board that can be really placed anywhere in the house.
Part 2
The server, near the meter, is put into the LAN and communicates with the client via a pair of powerline adapters, so it uses the same power line to transmit data and it doesn’t have to lay any new cables or wireless repeaters. The server is assembled inside an IP55 watertight box and is composed of:
- a module EmonTx V2, assembled with the only components necessary for the operation (top)
- one ethernet shield from Seeedstudio
- a 5V 1A power supply (bottom left)
- a powerline adapter (bottom right, outside of the box)
- a current transformer connected to the electrical network cable that comes out from the power meter.
COMMENTS