

I know Arduino platform for IoT. So I implemented a firmware of Arduino by Ethernet SW modification because I can handle a source code easily. You can know the status of equipment even if it is so far. Please refer to the following step.
Step 1: Prepare Materials


Please refer to the following.
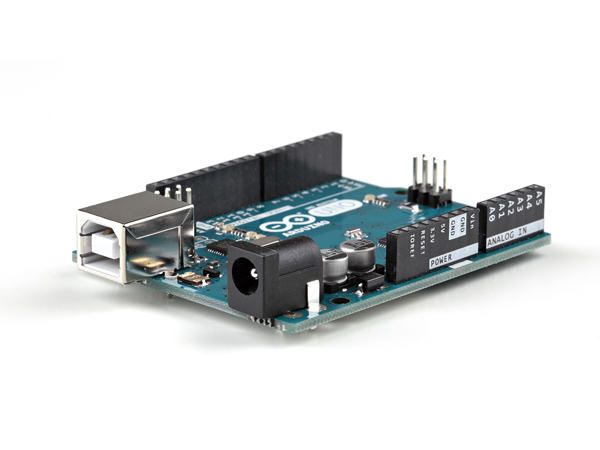
1. Arduino UNO
2. Ethernet shield
3. Easy Module shield
4. LAN cable
5. USB cable
Step 2: Hardware Connection

Please connect a LAN cable and USB cable
You can get more HW info on the following site.
https://www.arduino.cc/en/Main/ArduinoBoardUno
Step 3: Prepare Development Environment
https://www.arduino.cc/en/Guide/HomePage
Step 4: Software
I uploaded Arduino project. You can download this project file. And then import project into Sketch.
After compile, you can send sensor data to Thing+ cloud server.
 ReadTemperatureWriteLed.ino
- DHT11_library.zip
- ArduinoJson.zip
- PubSubClient.zip
- Thingplus.zip
- Time.zip
- Timer.zip


Step 5: How to Run: Preparation

1. To the following steps
http://support.thingplus.net/en/open-hardware/arduino-noSSL-user-guide.html
Step 6: How to Run: Modification


1. To must modify MAC address, API key, temperatureId in firmware code.
2. To add source codes of DHT11.
3. To verify and upload to target.
Step 7: How to Run : the Result


1. To check the result of Dashboard through Thing+ Server.
Source: http://www.instructables.com/id/Do-You-Know-How-to-Send-Arduino-Sensor-Data-to-Clo/
COMMENTS