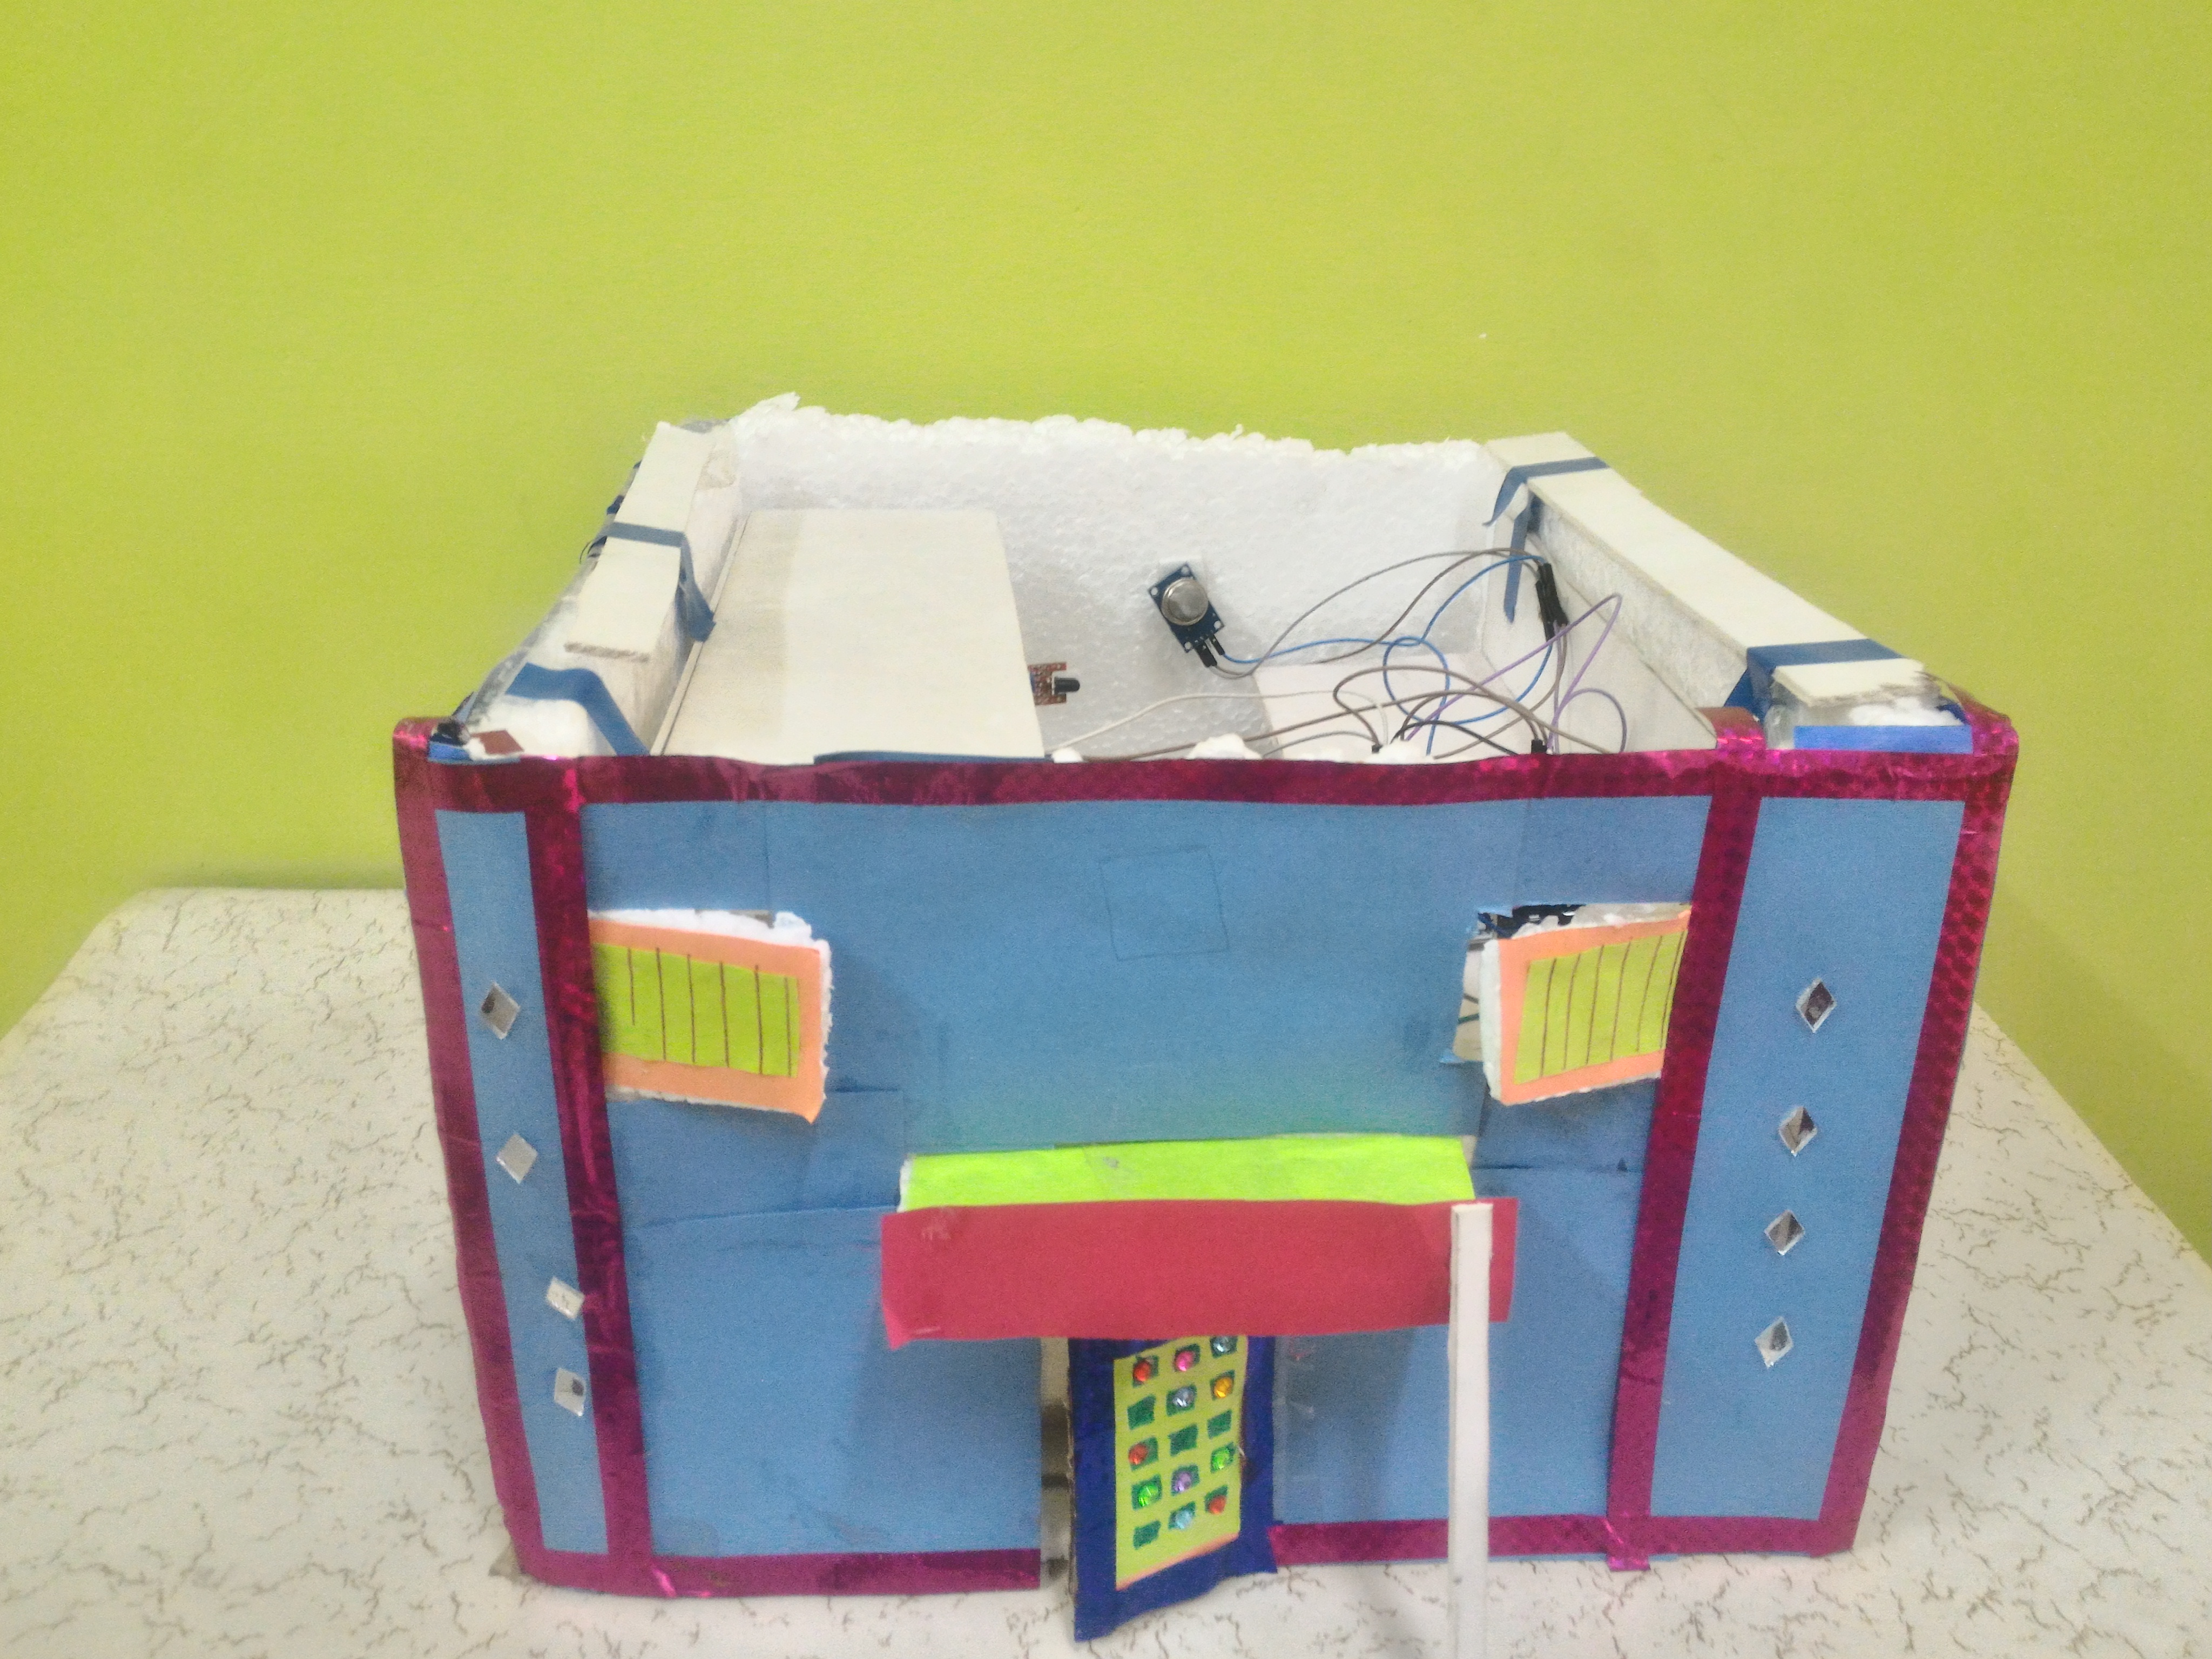
components
Hardware Components
Arduino UNO R3
X 1
Arduino Ethernet Shield
X 1
Gas Sensor (MQ2)
X 1
Small breadboard
X 1
Router
X 1
PIR Sensor
X 1
Flame Sensor
X 1
details
Step 1: Interfacing PIR Sensor With Ethernet Shield

Circuit Connections:
- First of all place the Arduino Ethernet shield on the top of Arduino Board.
- Connect the PIR sensor Signal pin to the digital pin 2 on the Arduino Ethernet shield using male to female connecting wire.
- Take one male to male wire, connect one terminal of wire to the +5V of Arduino Ethernet Shield and other terminal of the wire on the Breadboard.
- Take a male to female wire, connect 1 terminal where 5V pin of the Arduino is connected on the breadboard and the other terminal of the wire to the Vcc pin of PIR Sensor.
- Take a male to female wire, connect 1 terminal to the GND pin of the Arduino Ethernet Shield and the other terminal of the wire to the GND pin of PIR Sensor.
Step 2: Interfacing Flame Sensor With Ethernet Shield

Circuit Connections:
- Connect the Flame Sensor D0 pin to the digital pin 3 on the Arduino Ethernet shield using male to female connecting wire.
- Take a male to female wire, connect 1 terminal where 5V pin of the Arduino is connected on the breadboard and the other terminal of the wire to the VCC pin of Flame Sensor.
- Take a male to female wire, connect 1 terminal to the GND pin of the Arduino Ethernet Shield and the other terminal of the wire to the GND pin of Flame Sensor.
Step 3: Interfacing Gas Sensor With Ethernet Shield

- Connect the Gas Sensor A0 pin to the Analog pin A0 on the Arduino Ethernet shield using male to female connecting wire.
- Take a male to female wire, connect 1 terminal where you connected 5v pin of the Arduino on the breadboard and the other terminal of the wire to the Vcc pin of Gas Sensor.
- Take a male to female wire, connect 1 terminal to the GND pin of your Arduino Ethernet Shield and the other terminal of the wire to the GND pin of Gas Sensor.
Step 4: Upload the Arduino Sketch


documents
Code
www.instructables.com 
COMMENTS