Why?
A reliable gateway is a key in your MySensors network. In the same time, making it modular and easy to replace/upgrade parts if needed is something I have needed for a long time. For me, I also wants to use both RFM and NRF radio and in this you get the package of the two radios into one – just to hook up with a Arduino Uno. This makes it quick, easy and reliable. Modular and easy to update and debug is the keyword here. A gateway in a fancy case or wires everywhere makes your work hard when you want to debug or update. With this, everything is wired correctly, everything is easy access and if you want to change something you can just remove and replace the shield with a spare one. This is also designed to fit nicely in a network rack-cabinet.
What?
A shield in a Arduino Uno dimension, using softSPI for the radio SPI communication to allow an ethernet shield in between the Arduino UNO and the gateway shield. There is a dedicated powersupply (LM1117 3.3) that can support up to 800mA current allowing a Nrf24l01+ PA/LNA to run without power issues. Using RFM69 (3.3v logic level) each SPI line has its own logic level converter using BSS118. Easy to access reset and inclusion mode on the front as well as 3x status LEDS.
How?
Nrf24l01+
Buiding the gateway is straight forward, with good space and common components. Solder pinheaders, radio, caps, voltage regulator, led+resistors and buttons for reset and inclusion mode(optional) and atsha chip (signing, optional).
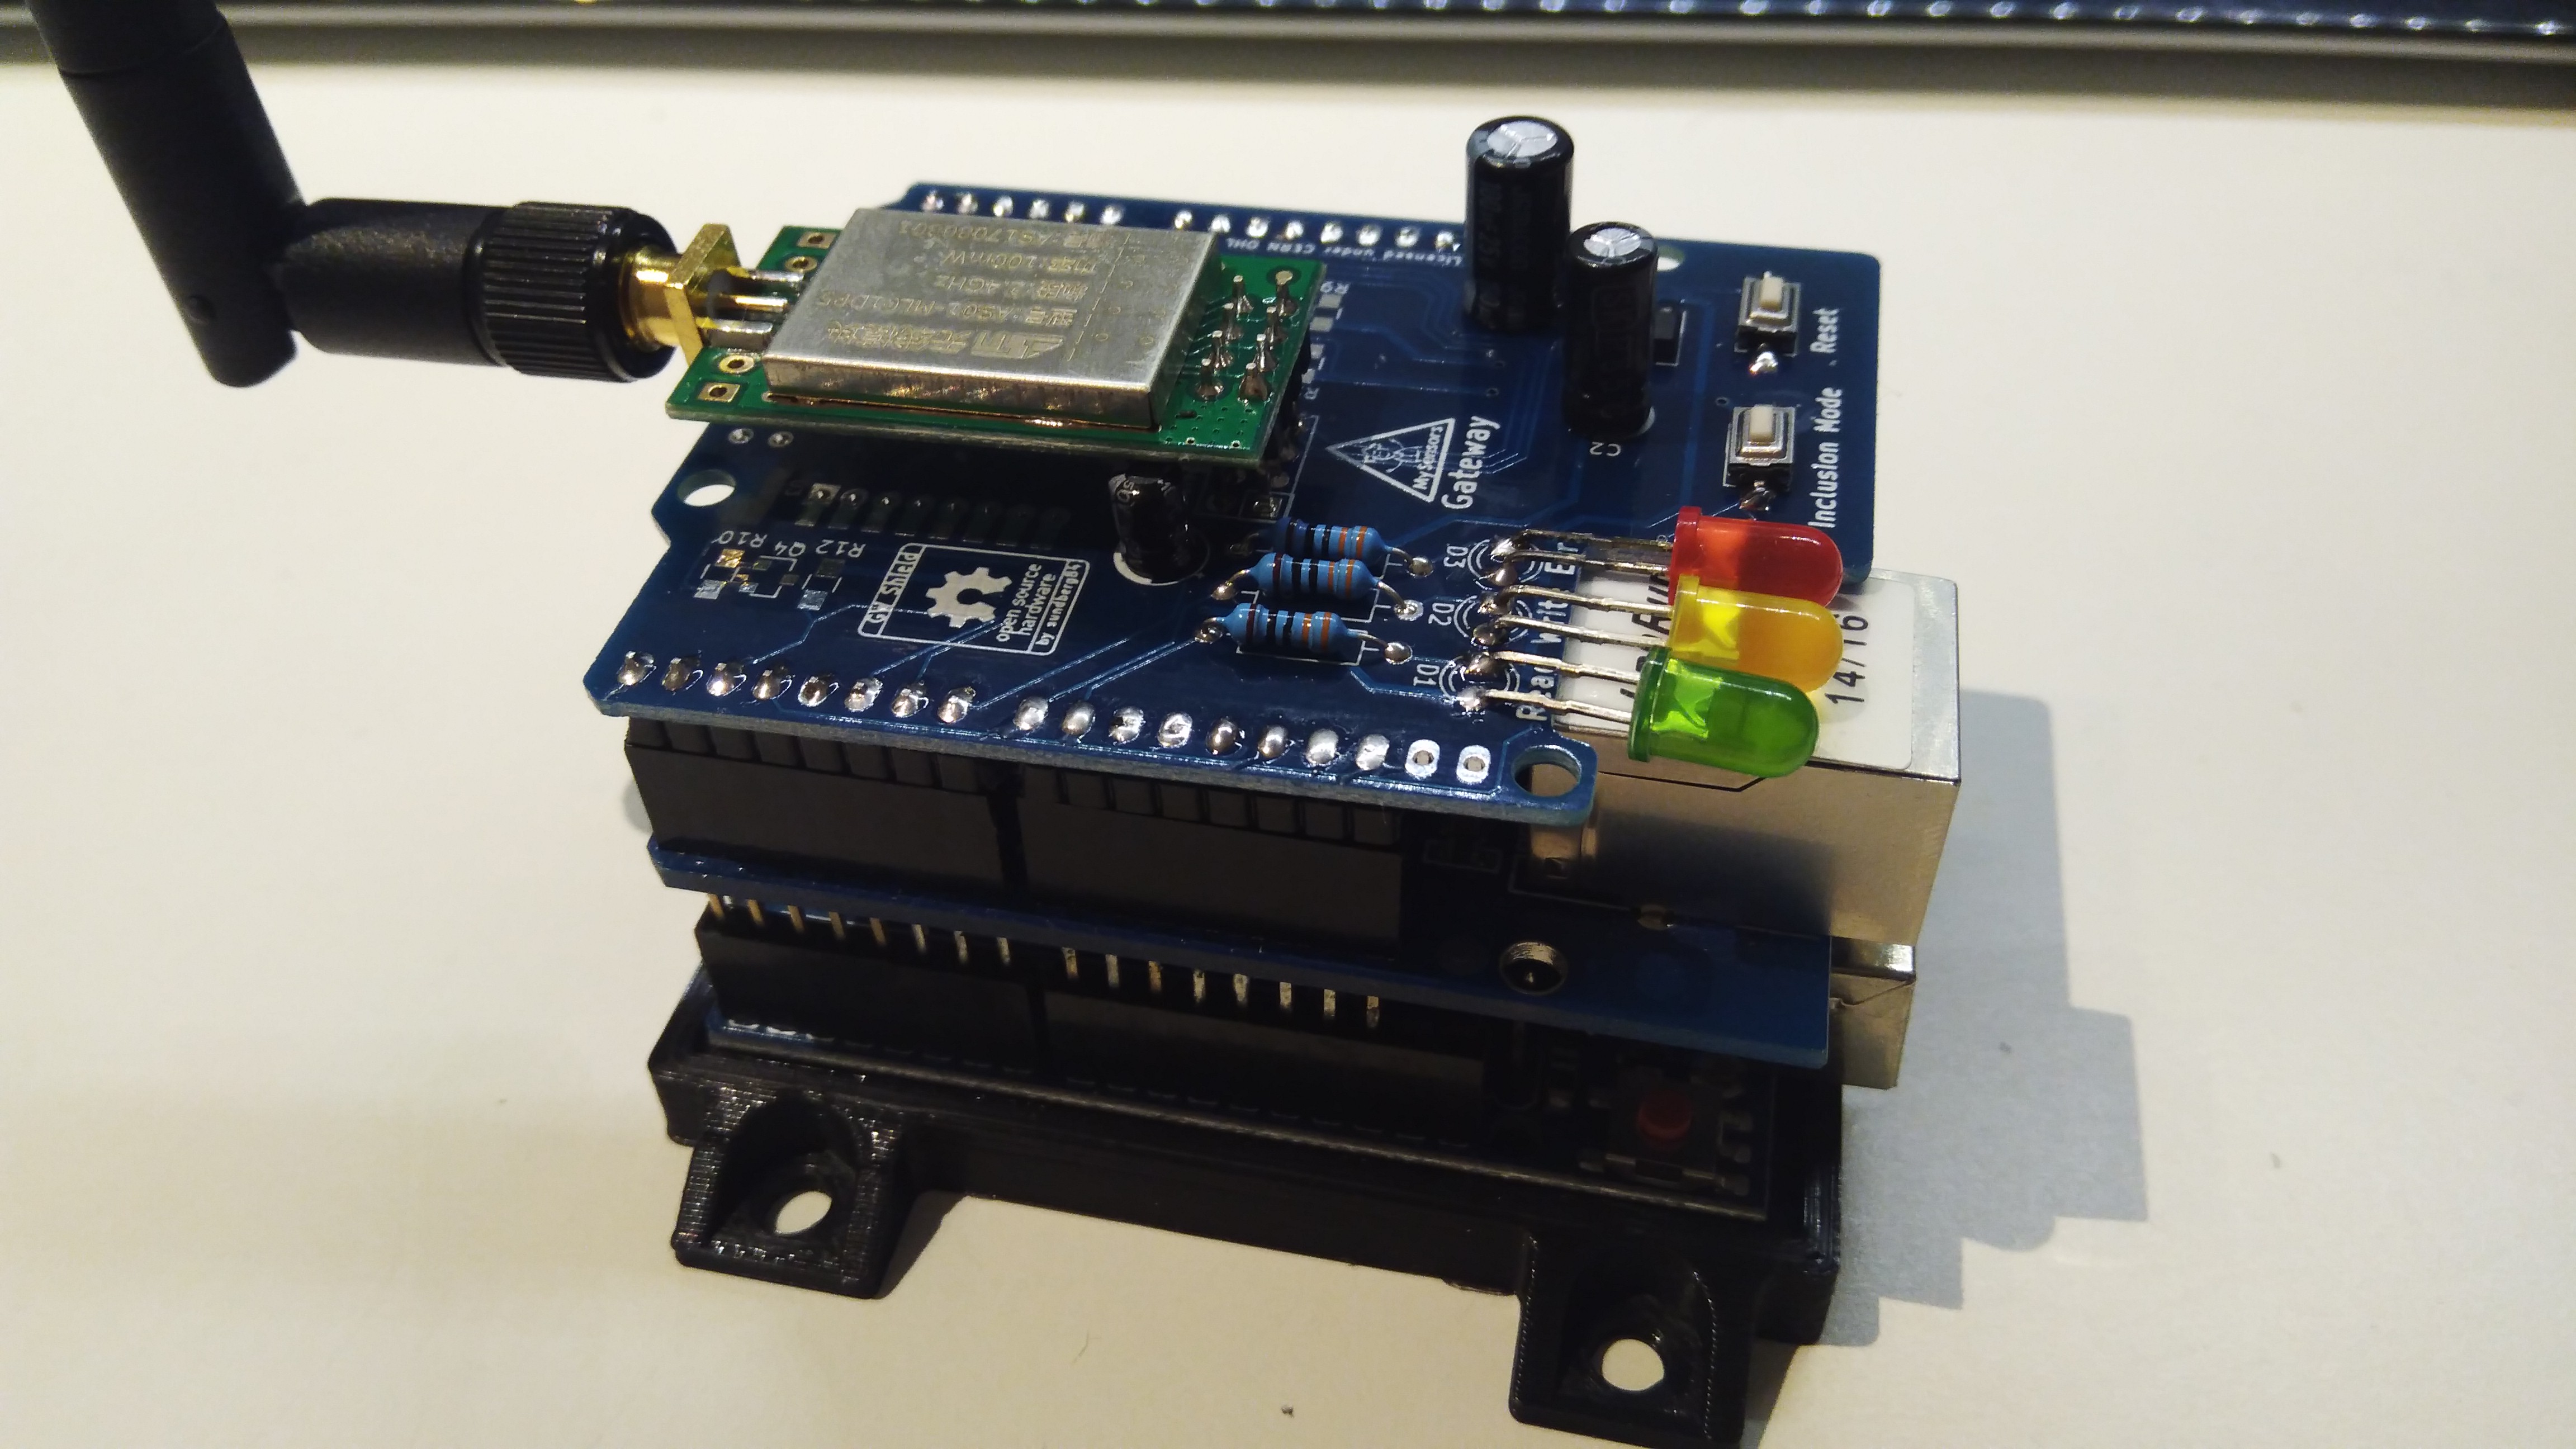
RFM Radio
Solder radio, pinheaders, caps, voltage regulator, led+resistors and buttons for reset and inclusion mode(optional) and atsha chip (signing, optional). If you are using the RFM69 radio you will also have to add resistors and logic level converters for the radio SPI bus. At this point, its not possible to use RFM69 radio with softSPI so you need to attach 4 wires, (D13<>A0, D12<>A2, D11<>A1, 10<>D6)
Work in progress / To next revision
- Confirmed working for Ethernetshield + Nrf24l01+ PA/LNA
- NOT confirmed for RFM69 > Issues with softSPI or SoftSPI in combination with logic level conversion using RFM driver (Logic level conversion works fine without softSPI). Not possible at this time to use RFM with Ethernet Module.
- Its possible to hardwire (cut pinheader and solder wires directly to hardware SPI on the uno for a RFM Serial Gateway)
- Add RX/TX led on shield?
Original link: https://www.openhardware.io/view/695/Arduino-Uno-Radio-Shield-SerialEthernet-GW
COMMENTS