components
Hardware Components
Arduino UNO
X 1
Arduino Ethernet Shield
X 1
Breadboard
X 1
1K resistor
X 1
LED
X 1
10k OR 22k Resistor
X 1
Hookup Wire (5 pieces)
X 1
Push Button
X 1
details
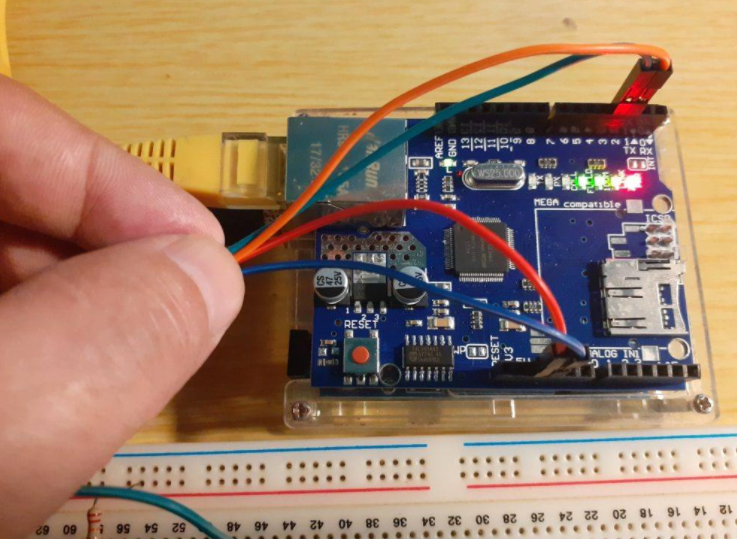
The Circuit
Wire the following circuit on your breadboard

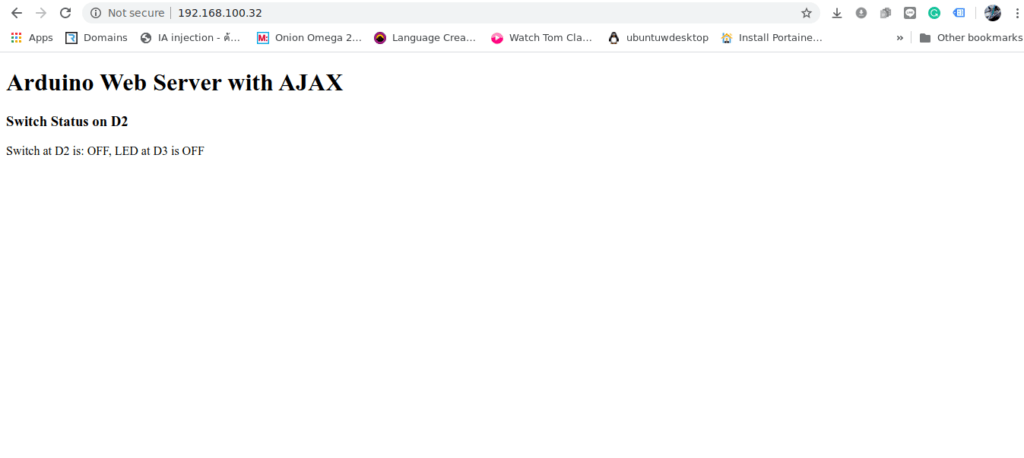
Testing the results
Open a web browser and go to the IP Address of the server ( the one you set in your code).
If you did everything correctly, you should see a screen similar to this.

The web page should immediately update and tell you that the button is On, and the LED is ON

Conclusion
This concludes part 1 of this series. This example can very easily be extended to be more useful, as well as be modified to work on other platforms, like ESP32.
In further parts, I will show you how to extend this very simple server into becoming something much more useful. Please visit again to see the rest of this series.
documents
Code
Arduino code 
COMMENTS