AWS_MQTT_LPCXpresso55S69_WizFi360_WiFi_RTX

Project to connect to AWS cloud using WizFi360
ORIGINAL POST
By James Cox-Morton
components
Hardware Components
details

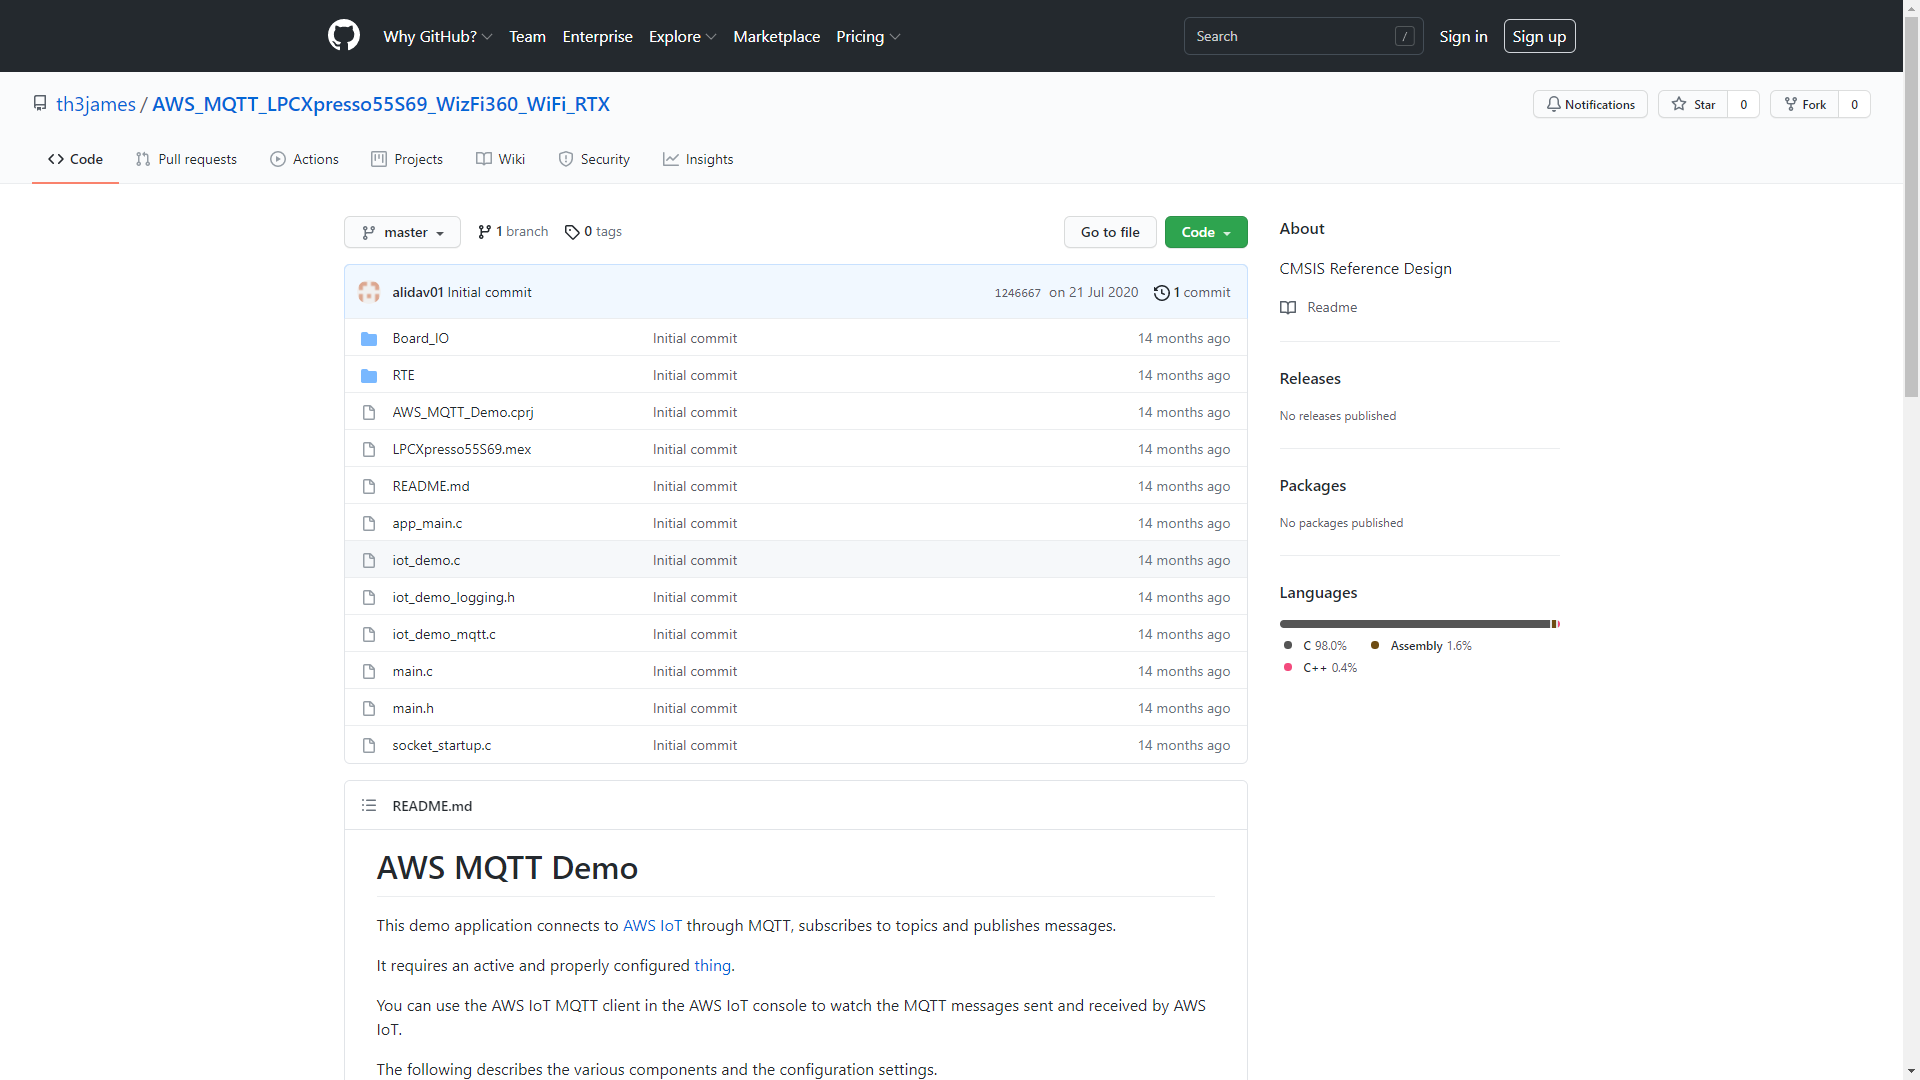
aws_mqtt_lpcxpresso55S69_wizfi360_wifi_rtx_github.png

AWS MQTT Demo

This demo application connects to AWS IoT through MQTT, subscribes to topics and publishes messages.

It requires an active and properly configured thing.

You can use the AWS IoT MQTT client in the AWS IoT console to watch the MQTT messages sent and received by AWS IoT.

The following describes the various components and the configuration settings.

Once the application is configured you can:

  • Build the application
  • Connect the debugger
  • Run the application and view messages in a debug printf or terminal window

AWS IoT Client

The file iot_config.h configures the connection to AWS IoT with these settings:

  • IOT_DEMO_SERVER: Remote Host
  • IOT_DEMO_ROOT_CA: Trusted Server Root Certificate
  • IOT_DEMO_CLIENT_CERT: Client Certificate
  • IOT_DEMO_PRIVATE_KEY: Client Private Key
  • IOT_DEMO_IDENTIFIER: Thing Identifier

Note: These settings need to be configured by the user!

RTX5 Real-Time Operating System

The RTX5 RTOS implements the resource management. It is configured with the following settings:

  • Global Dynamic Memory size: 24000 bytes
  • Default Thread Stack size: 3072 bytes

WiFi IoT Socket

This implementation uses an IoT socket layer that connects to a CMSIS-Driver WiFi.

The file socket_startup.c configures the WiFi connection with these settings:

  • SSID: network identifier
  • PASSWORD: network password
  • SECURITY_TYPE: network security

Note: These settings need to be configured by the user!

WizFi360 WiFi Module

The WizFi360 WiFi Module is connected via an Arduino connector using a USART interface. It exposes a CMSIS-Driver WiFi.

NXP LPCXpresso55S69 Target Board

The Board layer contains the following configured interface drivers:

CMSIS-Driver USART2 routed to Arduino UNO R3 connector (P18):

  • RX: D0 (PLU_OUT6/GPIO/FC2_USART_RXD_ARD)
  • TX: D1 (FC2_USART_TXD_ARD)

CMSIS-Driver SPI8 routed to Arduino UNO R3 connector (P17):

  • SCK: D13 (LSPI_HS_SCK)
  • MISO: D12 (LSPI_HS_MISO)
  • MOSI: D11 (LSPI_HS_MOSI)

GPIO pins routed to Arduino UNO R3 connector (P17):

  • output: D10 (LSPI_HS_SSEL1)
  • input: D9 (PIO1_5_GPIO_ARD)

CMSIS-Driver VIO with the following board hardware mapping:

  • vioBUTTON0: Button USER (PIO1_9)
  • vioLED0: LED RED (PIO1_6)
  • vioLED1: LED GREEN (PIO1_7)
  • vioLED2: LED BLUE (PIO1_4)

STDIO routed to Virtual COM port (DAP-Link, baudrate = 115200)

The board configuration can be modified using MCUxpresso and is stored in the file LPCXpresso55S69.mex.
COMMENTS

Please Login to comment
  Subscribe  
Notify of
POSTED BY
Reusable S/W