components
Hardware Components
Arduino UNO
X 1
Relay
X 1
Arduino 5100 Ethernet Shield
X 1
DS18B20 Temp Sensor
X 1
4.7k Resistor
X 1
Uno power supply
X 1
Software Apps and online services
Arduino IDEdetails
Step 1: Gathering Your Materials

- Arduino UNO –Amazon $10 OR EBAY ABOUT $5
- Relay- I used This one because i had it and it has outlets- Amazon has them for $20
- Arduino 5100 Ethernet Shield –Amazon $10
- DS18B20 Temp Sensor —Amazon 5 for $12!
- 4.7k Resistor x 1
- Uno power supply — any 5v to 9v power supply should work, or u can purchase a specially made arduino power supply.
- Arduino IDE
- Cayenne ——- Cayenne is a free service that allows easy Internet Of Things programming and monitoring. If you have never used it, it is very easy to start using with either a raspberry pi or arduino.
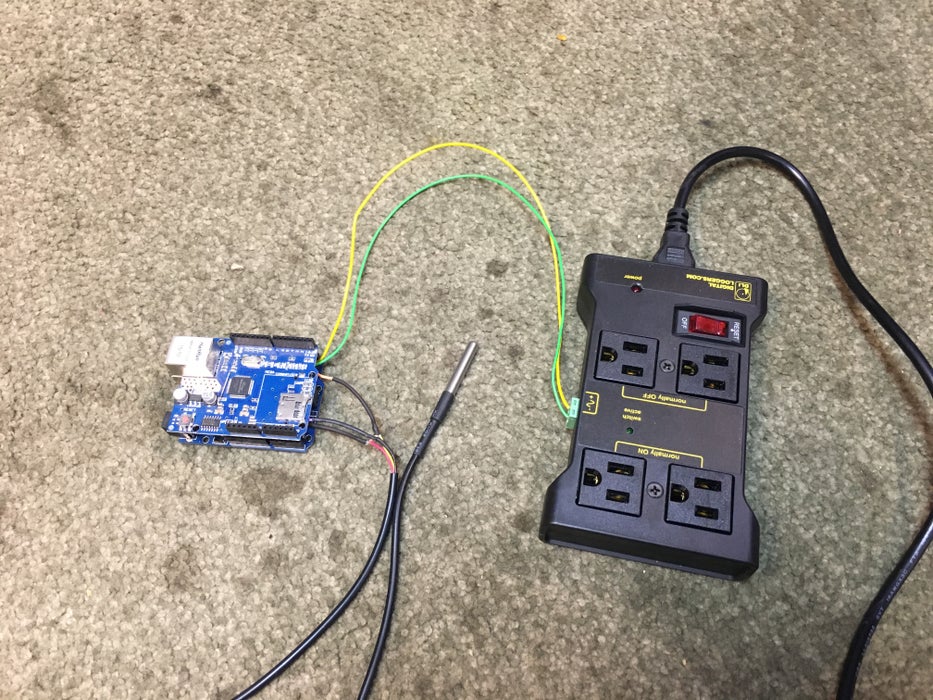
Step 2: Prepare the Hardware
- solder the 4.7k resistor between the data (yellow on mine) and the positive (red on mine). Leave enough of a lead on the end so we can solder it to the arduino(or you can breadboard it).
- Solder the temp sensor to the uno, red to 3.3v, black to ground, yellow to digital 3 (D3)
- Solder the relay leads to the uno, one lead to ground and one to digital pin 2 (D2). If you are using a different relay that requires dc voltage you will need to connect a lead to the 3.3v or the 5v depending on the relay. But the data pin is the same.
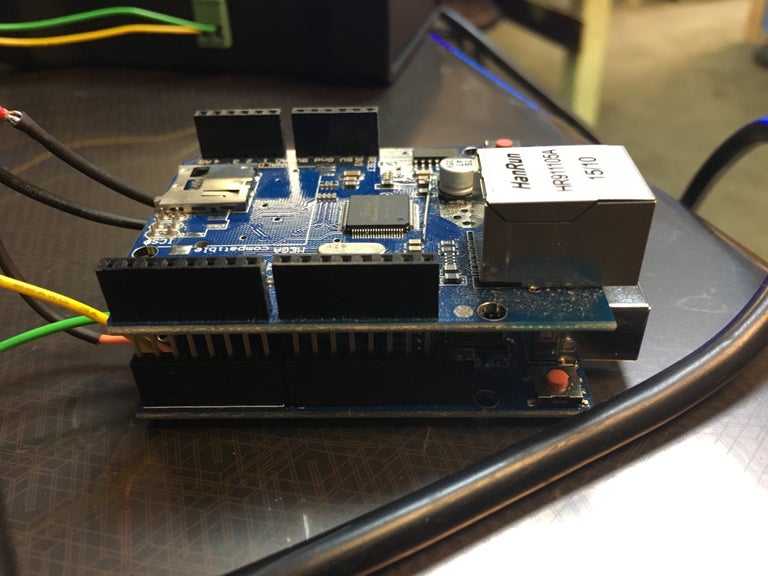
- Attach the network shield to the uno.
- Connect the completed uno to the computer by USB.
- Find your Port # for your arduino. We will need the port # to connect to it later. This is done by going to the device manager in windows (see pictures).
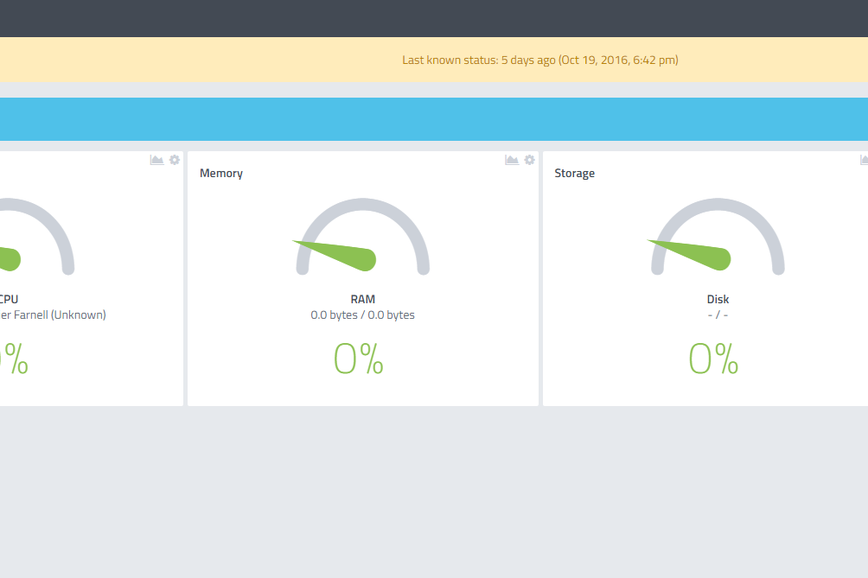
Step 3: The Cayenne Dashboard
Step 4: Add Your Arduino to Your Cayenne Dashboard (The Arduino IDE Part)

Step 5: Finish on Cayenne (Almost Done)

COMMENTS