Overview
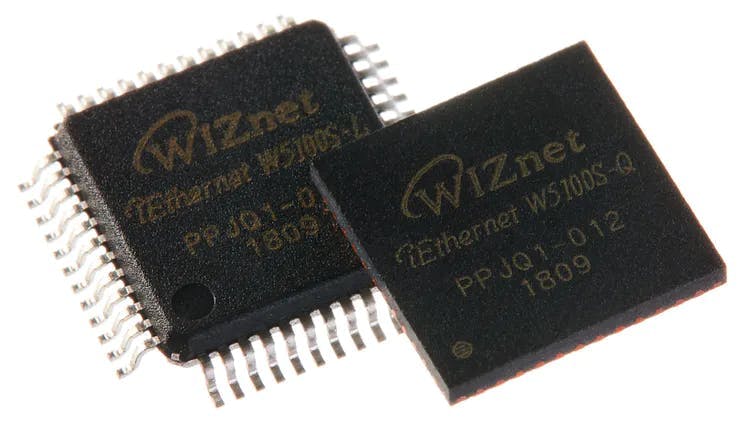
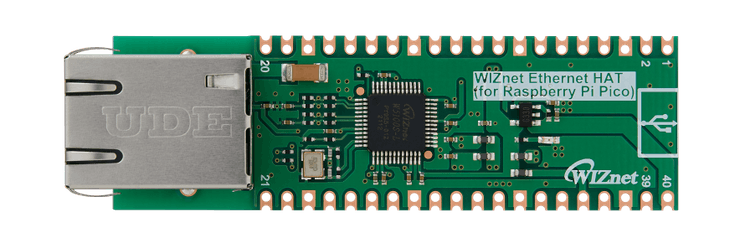
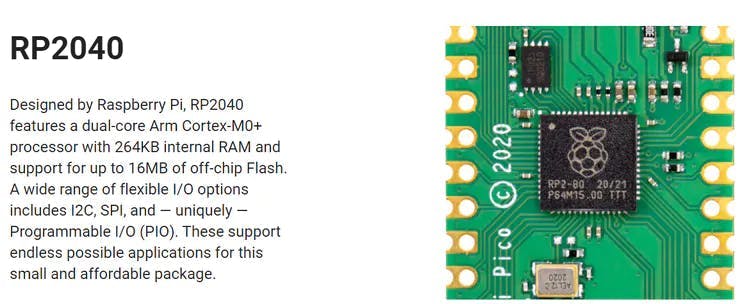
WIZnet Ethernet HAT (Hardware Attached on Top) is a Raspberry Pi Pico pin-compatible board that utilizes W5100S and supports both 3.3V & 5V.
Please refer to this link to find more information about W5100S.
- Raspberry Pi Pico Pin-Compatible
- Ethernet (W5100S Hardwired TCP/IP CHIP)
- Product page : https://docs.wiznet.io/Product/iEthernet/W5100S/overview
- Support 4 Independent Hardware SOCKETs simultaneously
- Support SOCKET-less new Command: ARP-Request, PING-Request
- Support Auto-MDIX only when Auto-Negotiation mode
Prepare
Prepare Hardware
1.Combine WIZnet Ethernet HAT with Raspberry Pi Pico.
2.Connect ethernet cable to Ethernet HAT ethernet port.
3.Connect Raspberry Pi Pico to desktop or laptop using 5 pin micro USB cable.
– If you use W5100S-EVB-Pico, you can skip ‘1. Combine…’
Prepare Software
Installing CircuitPython
Install CircuitPython on Raspberry Pi Pico by referring to the link above.
https://learn.adafruit.com/getting-started-with-raspberry-pi-pico-circuitpython/circuitpython
Setup WIZnet Ethernet Library
Copy the WIZnet library Into the lib folder inside the Raspberry Pi Pico. https://learn.adafruit.com/ethernet-for-circuitpython/circuitpython-setup
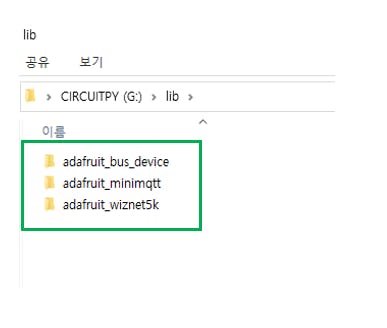
Before continuing, make sure your board’s lib folder has at least the following files and folders copied over: https://github.com/Wiznet/RP2040-HAT-CircuitPython
adafruit_bus_device
adafruit_wiznet5k
adafrui_minimqtt
Install Programs
The following serial terminal program is required for MQTT Publish test, download and install from below links.
Run PICO
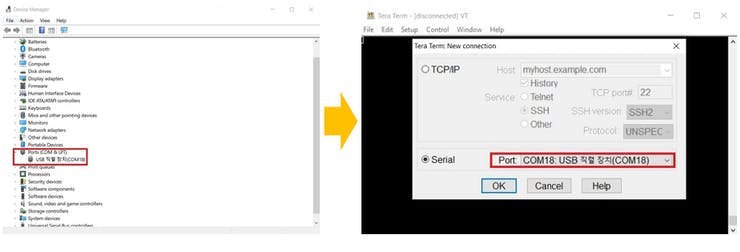
Before this, you should find the Raspberry Pi Pico COM port number from “Device Manager” on your PC.
How to MQTT_publish Example
Setup MQTT_Publish Example
– download https://github.com/Wiznet/RP2040-HAT-CircuitPython/tree/master/examples/MQTT/Publish
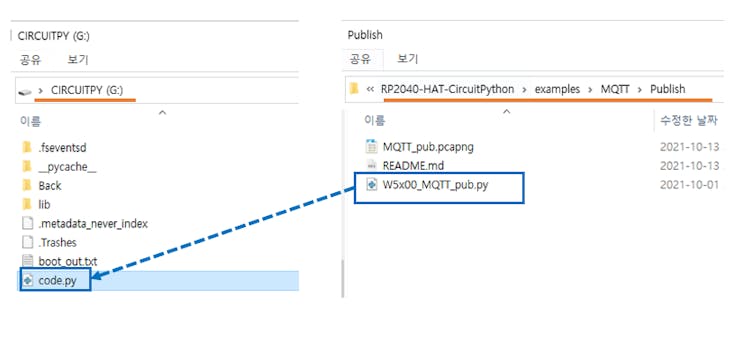
– Copy all code from download W5x00_MQTT_pub.py file or below code section.
– Paste code into code.py on your Raspberry Pi Pico and Save it.
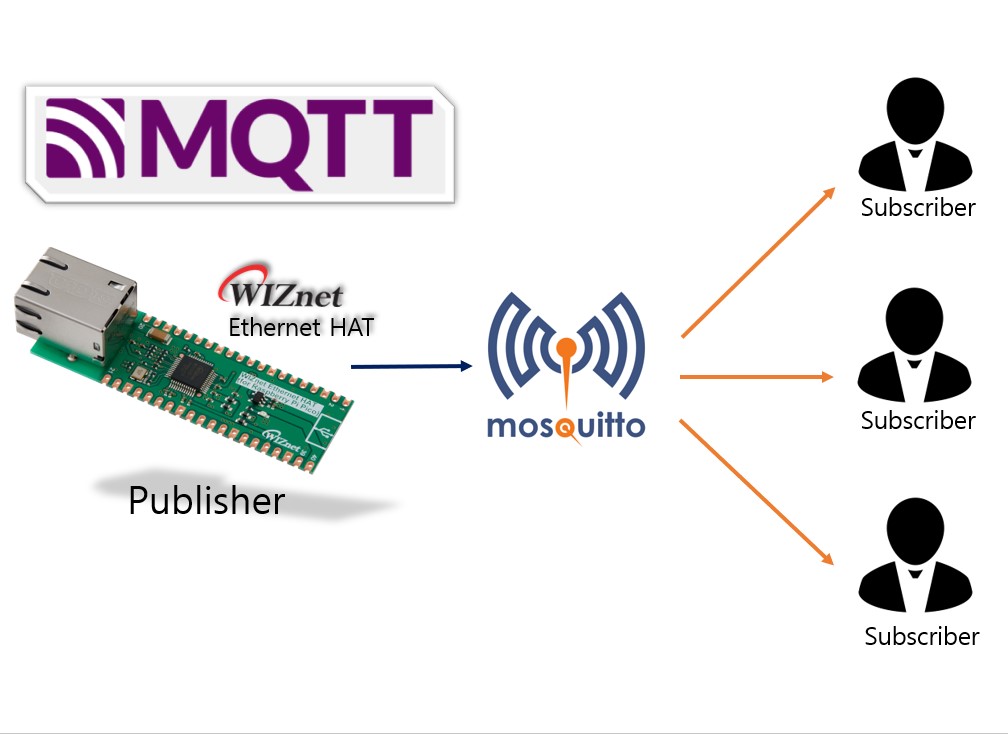
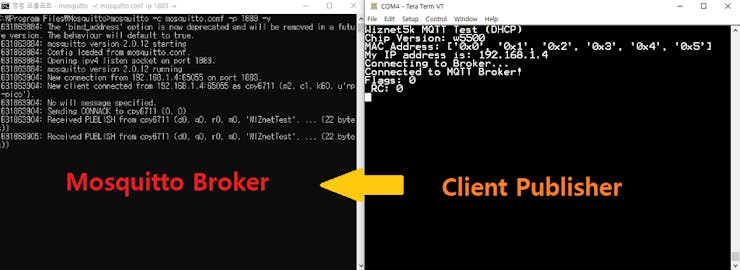
Create broker using mosquitto by executing the following command. If the broker is created normally, the broker’s IP address is the current IP of your desktop or laptop, and the port is 1883 by default.
mosquitto -c mosquitto.conf -p 1883 -v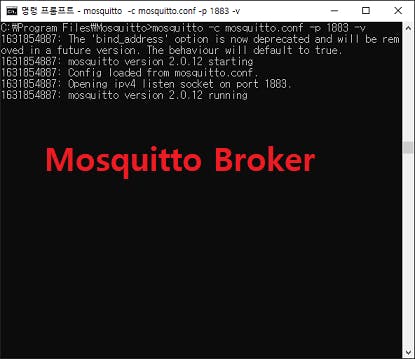
Connect to Mosquitto Broker
If the MQTT publish example works normally on Raspberry Pi Pico, you can see the network information of Raspberry Pi Pico, connecting to the broker and publishing the message.
– Press “Ctrl+D” on the terminal window. you can see the messages as follows.
Subscribe to the broker with the above command. Subscribe will receive a message from the broker.
mosquitto_sub -h 192.168.1.11 -t WIZnetTest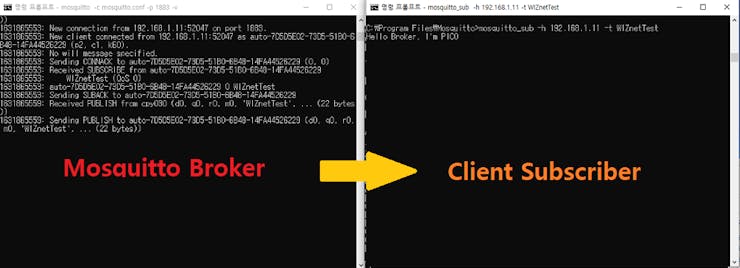
Appendix
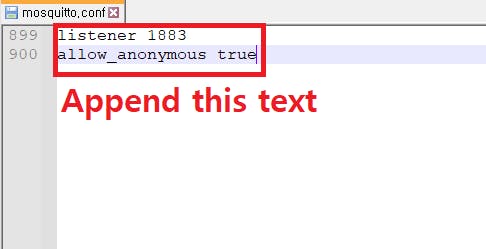
- In Mosquitto versions earlier than 2.0 the default is to allow clients to connect without authentication. In 2.0 and up, you must choose your authentication options explicitly before clients can connect. Therefore, if you are using version 2.0 or later, refer to following link to setup ‘mosquitto.conf’ in the directory where Mosquitto is installed.https://mosquitto.org/documentation/authentication-methods/

COMMENTS