I know Arduino platform for IoT. Recently WizArduino module will be announced by WIZnet.
So I implemented a firmware of Arduino by Ethernet SW modification because I can handle a source code easily.
You can know the status of equipment even if it is so far. Please refer to the following step.
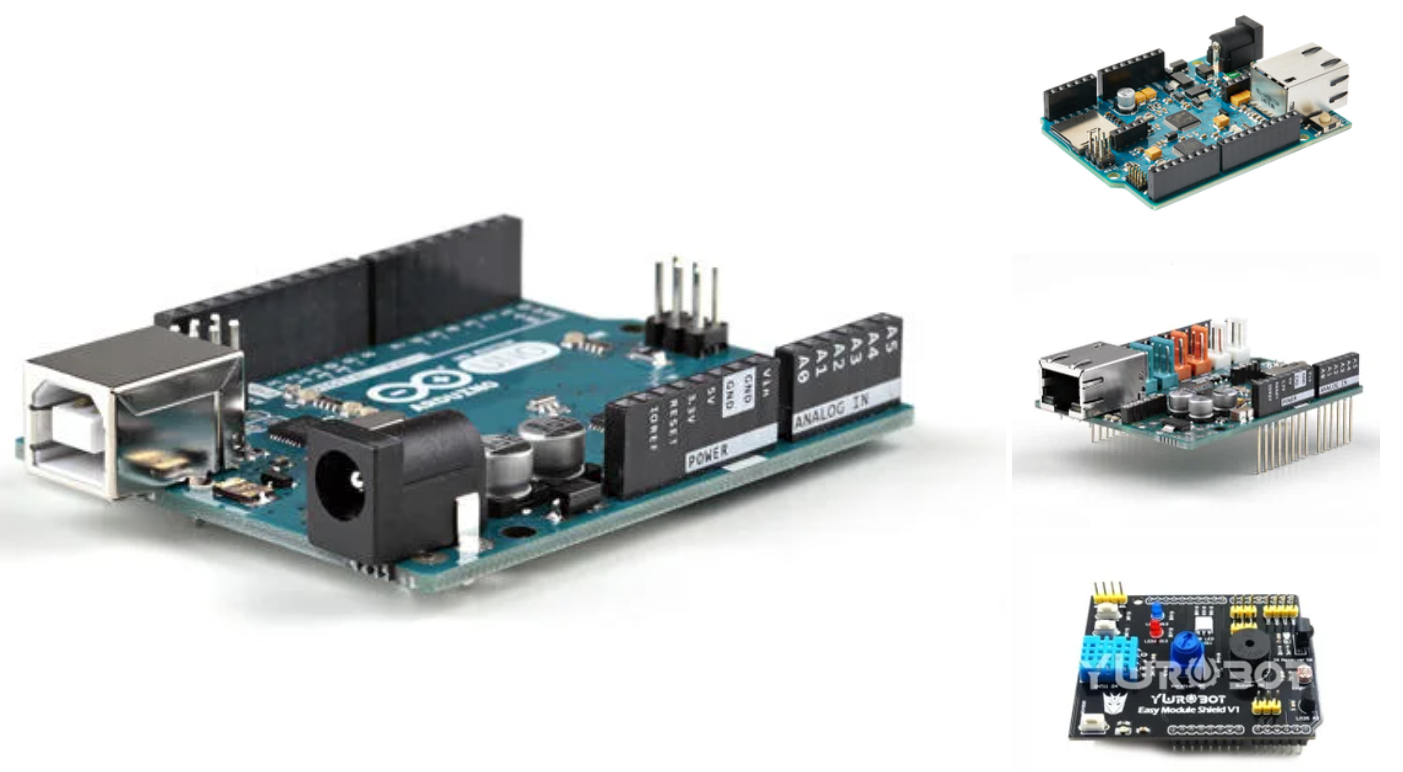
Hardware Connection
Please connect an LAN cable and USB cable
You can get more HW info by the following site.
http://labs.arduino.org/Arduino%20Uno
http://wizwiki.net/wiki/doku.php?id=osh:wizarduino:start
Prepare Development Environment
http://labs.arduino.org/Getting+started+with+Arduino+UNO
Software
I uploaded Arduino project.
You can download this project file. And then import project into Sketch.
After compile, you can run control operation through Blynk platform.
/**************************************************************
* Blynk is a platform with iOS and Android apps to control
* Arduino, Raspberry Pi and the likes over the Internet.
* You can easily build graphic interfaces for all your
* projects by simply dragging and dropping widgets.
*
* Downloads, docs, tutorials: http://www.blynk.cc
* Blynk community: http://community.blynk.cc
* Social networks: http://www.fb.com/blynkapp
* http://twitter.com/blynk_app
*
* Blynk library is licensed under MIT license
* This example code is in public domain.
*
**************************************************************
* This example shows how to configure static IP with Ethernet.
* Be sure to check ordinary Ethernet example first!!!
*
* NOTE: Pins 10, 11, 12 and 13 are reserved for Ethernet module.
* DON’T use them in your sketch directly!
*
**************************************************************/
#define BLYNK_PRINT Serial // Comment this out to disable prints and save space
#include <SPI.h>
#include <Ethernet2.h>
#include <BlynkSimpleEthernet2.h>
// You should get Auth Token in the Blynk App.
// Go to the Project Settings (nut icon).
char auth[] = “0093bb590e9d40429d3818090a852ca9”;
IPAddress server_ip (45, 55, 195, 102);
// Mac address should be different for each device in your LAN
byte arduino_mac[] = { 0x00, 0x08, 0xDC, 0x1E, 0x72, 0x1B };
IPAddress arduino_ip ( 192, 168, 0, 20);
IPAddress dns_ip ( 8, 8, 8, 8);
IPAddress gateway_ip ( 192, 168, 0, 1);
IPAddress subnet_mask(255, 255, 255, 0);
void setup()
{
Serial.begin(9600);
Blynk.begin(auth, server_ip, 8442, arduino_ip, dns_ip, gateway_ip, subnet_mask, arduino_mac);
// Or like this:
//Blynk.begin(auth, “blynk-cloud.com”, 8442, arduino_ip, dns_ip, gateway_ip, subnet_mask, arduino_mac);
}
void loop()
{
Blynk.run();
}
How to Run : Test Result
Refer to the movie. ( https://www.youtube.com/watch?v=FesLWXggzsYs )
1. To check the connection with PC.
2. To import a project into Sketch.
3. To downaload the Blynk App into Smartphone.
4. To login Blynk App.
5. To create a new progject on App.
6. To check “Auth Token” by Email.
7. To modify “Auth Token”, Server IP, MAC address, IP address.
8. To verify and upload.
9. To check the connection with Blynk server by serial monitor.
10. To add Widget Box and modify an example project.
11. To check the result of device control.
You can see the test result by the video. Thank you for your attention.
* D10, D11, D12, D13 pins cannot be controled because those are on using as Ethernet SPI.
COMMENTS