components
Hardware Components
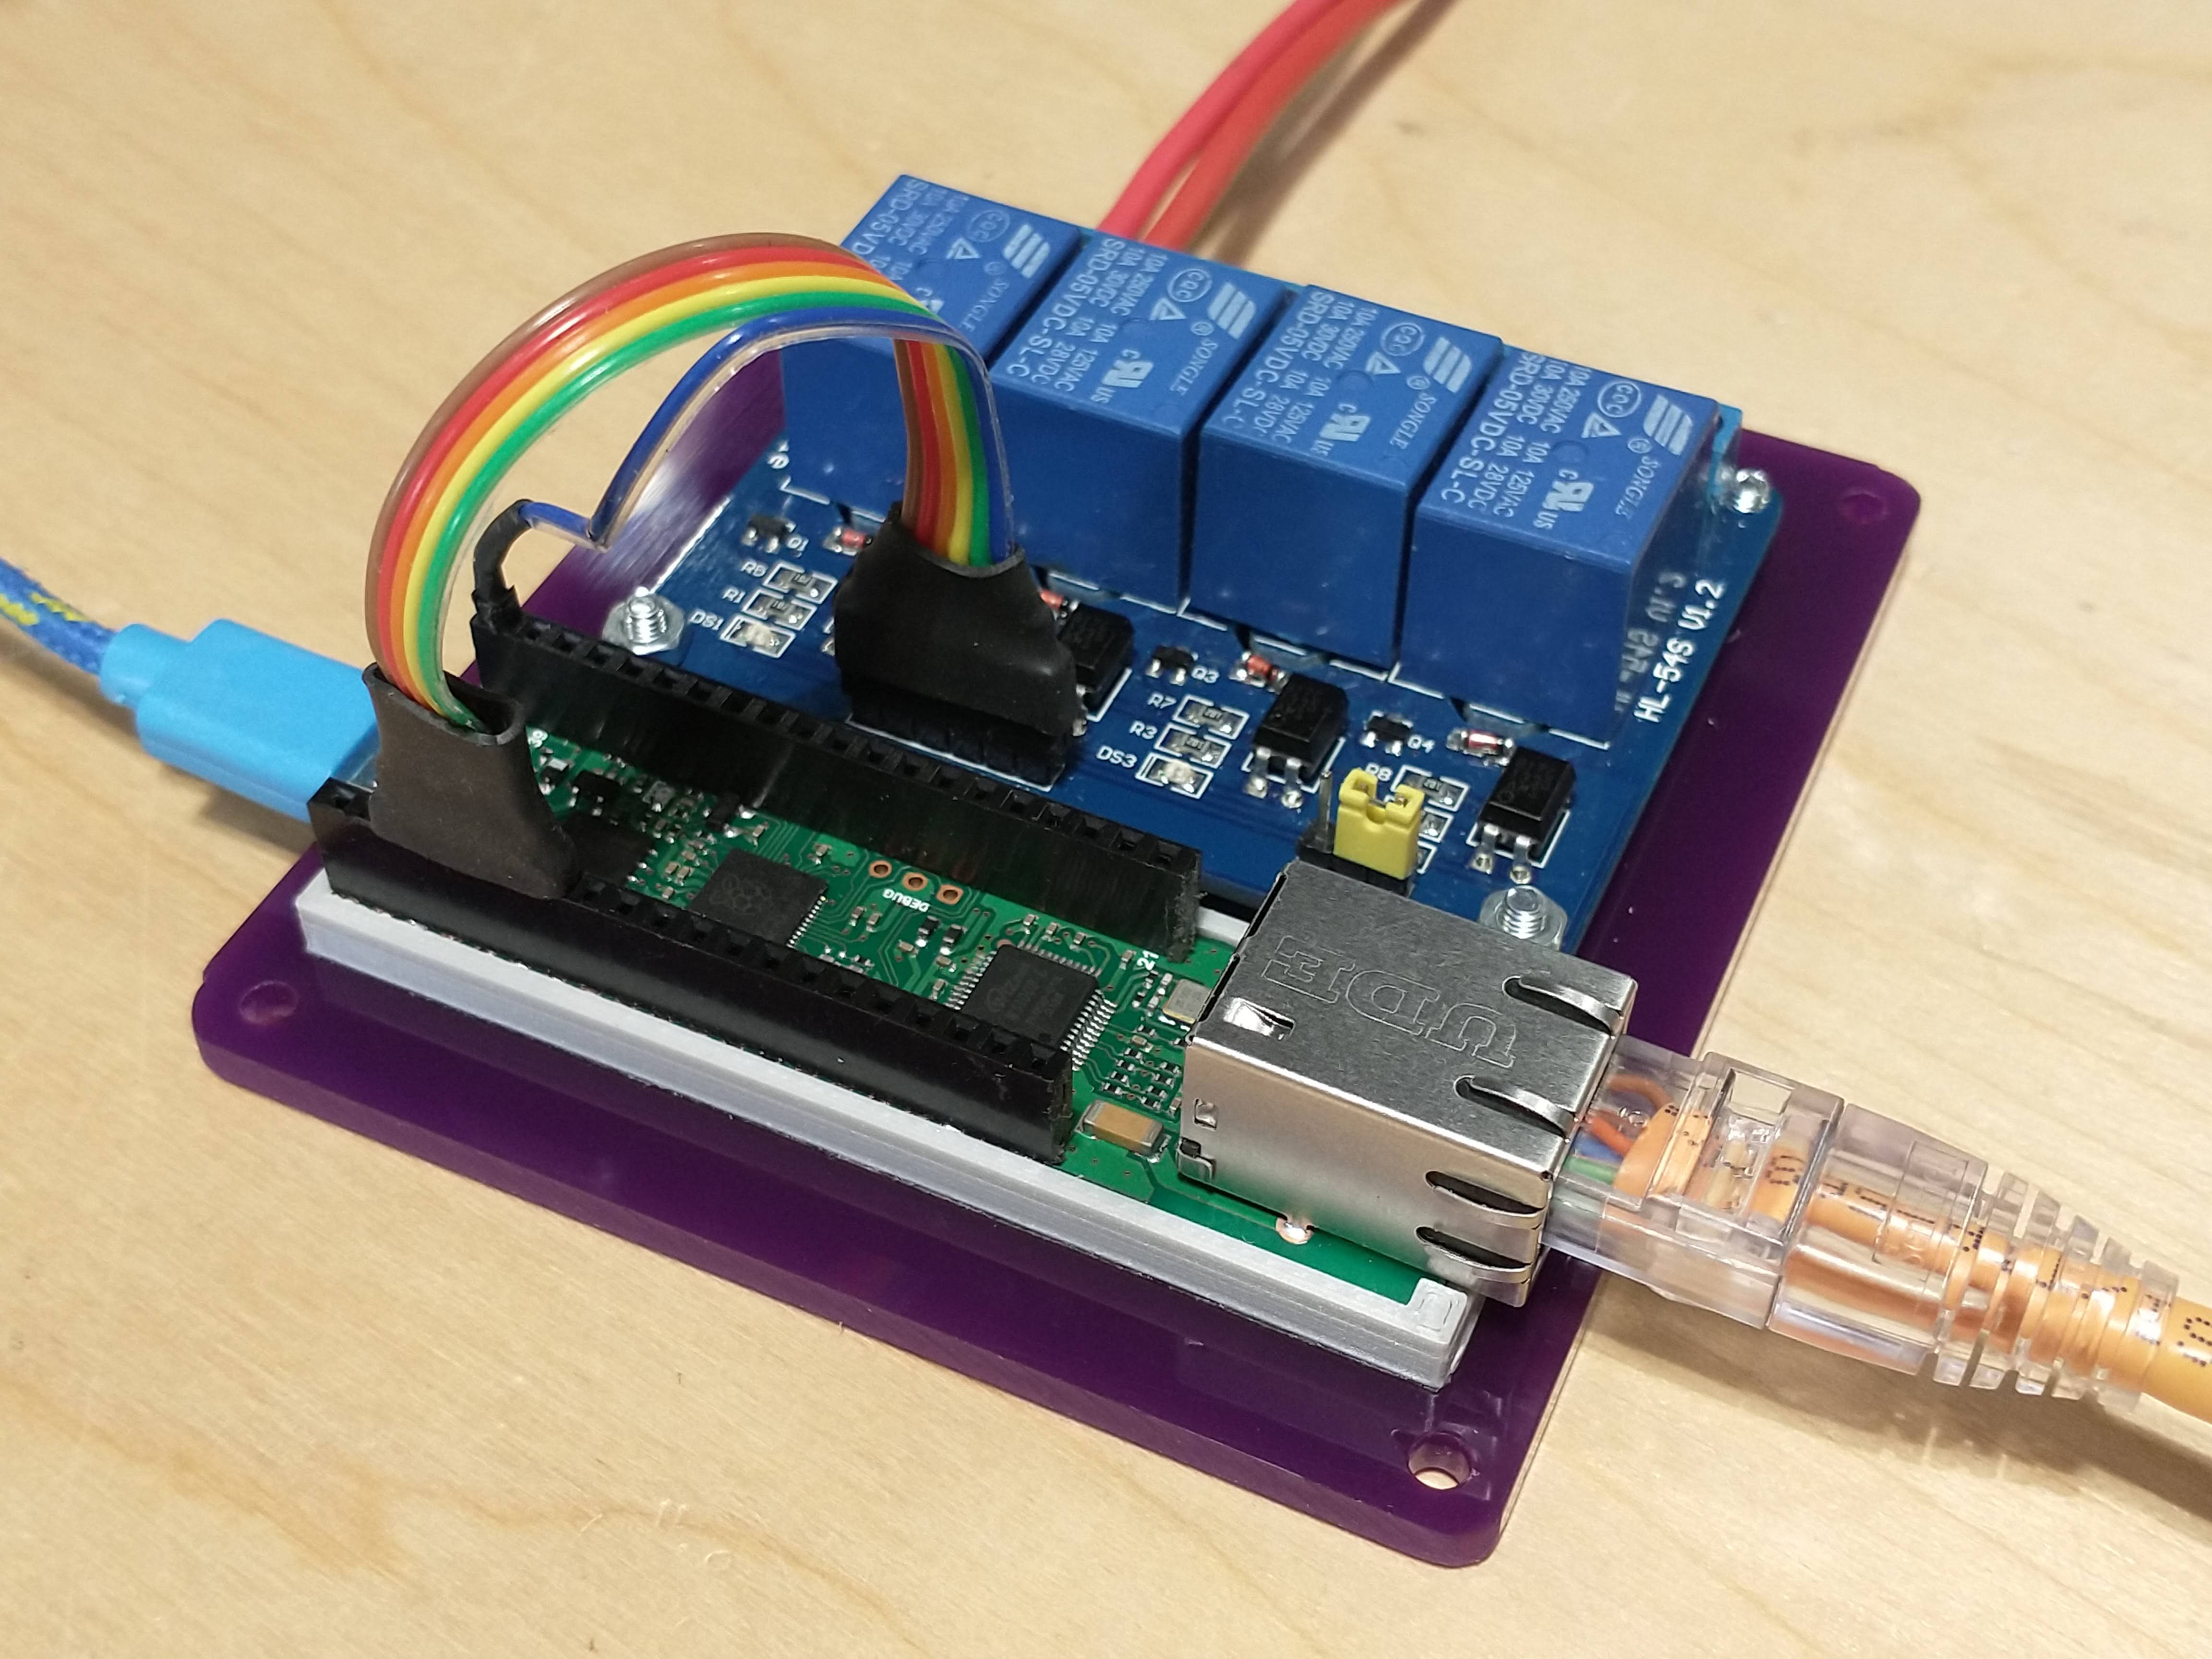
W5100S-EVB-Pico
X 1
Relay module with optocoupler
X 1
This relay board must work with 3.3V signal levels and be specified to switch the voltage and current required
X 1
RP2040 HAT MicroPython Firmware
Need to be installed on your Pico for access to the networking features
Project Description
Overview
These are the build instructions for the remote switch. This is a prototype design that is intended to form the base for your project, but it is fully functional without modification.Requirements
For this project you will need a W5100S-EVB-Pico (or Pi Pico with a WIZnet Ethernet HAT), a 5V power supply (such as a phone charger or power supply module), and commonly available relay board. You will also need a computer (Windows, Linux or Mac) to install the software. The device is controlled via a web app that can be run on any modern browser or mobile phone.Firmware Installation
First the W5100S-EVB-Pico (or Pi Pico with a WIZnet Ethernet HAT) needs to have the MicroPython firmware installed. You will need to use a version that has been compiled to work with the WS5100S controller that can be downloaded from https://github.com/Wiznet/RP2040-HAT-MicroPython/blob/main/Ethernet%20Example%20Getting%20Started%20%5BMicropython%5D.md#firmware . Once downloaded it can be installed by pressing the BOOTSEL button while plugging the device into your computer, and then copying the uf2 file to the drive that appears on your computer. It is as simple as that. Do not use the stock Pi Pico firmware, or use tools like Thonny to install the firmware, as the Ethernet functionality required this special firmware.Once the Pi Pico firmware is installed you will need to install the power controller firmware. This can be downloaded from https://maker.wiznet.io/2022/01/24/reliable-remote-power-strip/ and installed by using a tool like Thonny. A link to Thonny is included on the same page and installation instructions can be found at https://projects.raspberrypi.org/en/projects/getting-started-with-the-pico . To transfer our firmware load the code in to Thonny on your computer (select Open… from the File menu) and save it to a file called “main.py” on the W5100S (selecting Save copy… from the File menu and clicking the Raspberry Pi Pico after selecting).Once the firmware is installed it will start to run and will restart when the hardware is power cycled. When it reboots the IP address of the device will be shown. If this does not happen then check your network connection and check the WIZnet example code is working. This IP address will also be available from your network router or by using a phone app such as Fing. Make a note of this IP address as we will need it later.Hardware Installation
You are free to mount the hardware however you like, and the pins used can be remapped by editing the settings at the top of the code. Remember that not all pins are available and using them may break the networking or debugging capabilities. A schematic is linked to on this page with the recommended connections.IMPORTANT SAFETY CONSIDERATION: If you are switching high voltages then make certain you are using a relay board with opto isolation and ensure good separation between the high and low voltage sides of the project. If you are not 100% confident in what you are going with high voltages then don’t do it and seek help from someone who does.Once you have everything wired together and the system powered up then connect your phone or computer to the network and type the IP address into the address bar. You will see some buttons to switch on or off the individual relays.The web page is also a web app and can be saved to your phone’s home screen.Network Configuration
You can configure port forwarding on your router to give access to this from the Internet, but instead I recommend using a reverse proxy such as Nginx running on a Raspberry Pi that will allow you to add encryption and password protection. Details to do this can be found https://docs.nginx.com/nginx/admin-guide/web-server/reverse-proxy/ .Demonstration
A demonstration of the prototype working is available https://youtu.be/qZWW18Fw_Ls .documents
Code
Main project firmware 
Schematics
The relay module schematic

The overall schematic

Others
Mounting Frame for the W5100S-EVB-Pico
This is used to securely mount the module to the enclosure.
Demonstration Video
W5100S Series Library
Hi alistair,
I’m Ron from WIZnet HK. Could I post your article to our WIZnet HK instagram account?
BTW, do you have a instagram account that I could tag you?
Best Regards,
Ron
Hi Ron, yes I am happy with the article being posted on the HK Instagram account. I do not actively use Instagram myself.
Thank you.