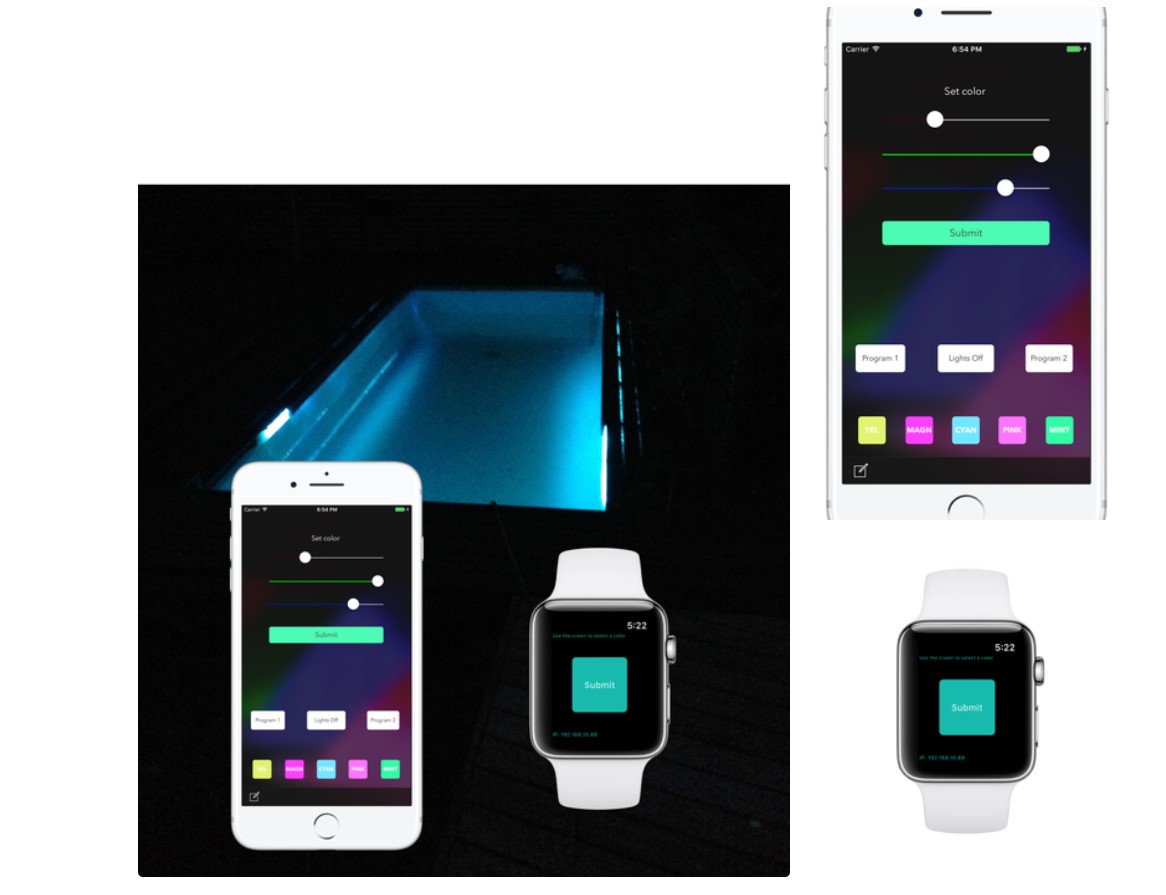
This project shows you how to set up Arduino with a RGB LED and control it with your iPhone via Wifi.
You can set any color you want to using three sliders. Each slider has 17 different positions, so theoretically you are able to set over 4 000 different colors. That should be enough.
Everything you need is Arduino Uno/ Mega, Ethernet shield, 3 x 220 ohm resistors, common cathode RGB LED, ethernet router with wifi, ethernet cable and “Wifi RGB” app from Appstore (it’s free).
You can download the app from:
www.appstore.com/WifiRGB or search it from the appstore with the name “Wifi RGB”
Step 1: Setting Up Your Arduino and Wirings


You can use a single RGB LED or a LED strip. Wirings shown in the image are only for common cathode RGB LED. If you are planning to use a RGB LED strip you will need a 12 V power supply, RGB amplifier, some resistors and three npn transistors as well.
Wirings are very simple. You only have to do the following wirings:
– Arduino pin 3 -> 220 ohm -> Red LED
– Arduino pin 5 -> 220 ohm -> Green LED
– Arduino pin 6 -> 220 ohm -> Blue LED
– Arduino GND -> LED GND
– Ethernet cable from router to Arduino ethernet shield
Note: You should always check the current limits from your LED data sheet, so you can choose correct resistors for your needs.
Now you are ready with your wirings.
https://content.instructables.com/ORIG/FRI/81U1/IB228TYZ/FRI81U1IB228TYZ.txt
Step 2: Arduino Code
All you have to do is to set your ip address to the code and then you are ready to play with your LEDs!
byte mac[] = { 0x00, 0xAA, 0xBB, 0xCC, 0xDA, 0x02 };
IPAddress ip(192,168,0,23); // <- Enter your IP address
EthernetServer server(80);
If you don’t know your IP address you can check your IP from your iPhone’s wifi settings and change the last number. e.g iPhone’s IP address is 192.168.0.100, set IP in the code to 192.168.0.22. The last number can be anything between 2 and 255 as long as it’s not reserved by any other device.
If you want to modify the predefined colors that is possible by modifying the code. You can also modify the color programs if you want to.
COMMENTS