TUTORIAL ETHERNET SHIELD Y ARDUINO

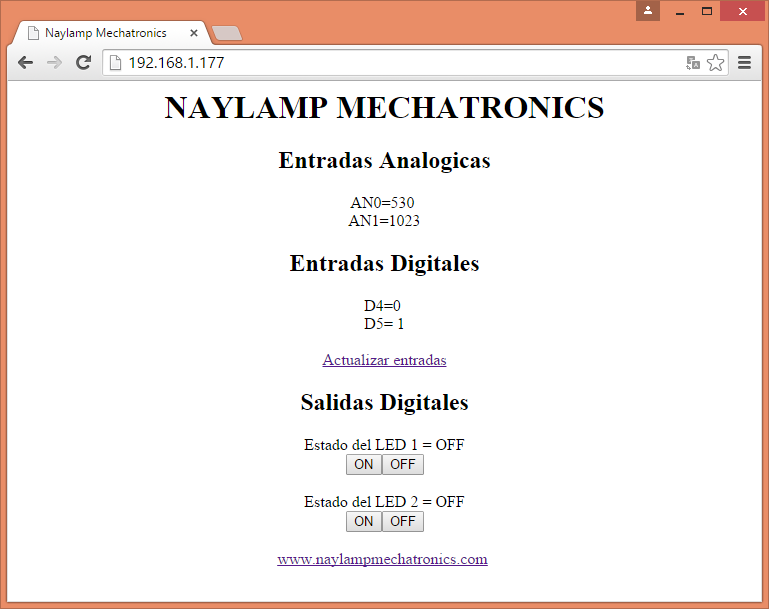
In this tutorial, a simple example will be made to understand the operation of the Ethernet Shield, through which we will access our Arduino from the internet, we will control the digital outputs and we will visualize the digital and analog inputs from a web browser.
ORIGINAL POST
By Naylamp Mechatronics
components
Hardware Components
Software Apps and online services
ArduinoIDE
details

naylamp-arduino-shield.jpg

Original : https://naylampmechatronics.com/blog/27_tutorial-ethernet-shield-y-arduino.html

With this ethernet shield, countless options are opened to control your Arduino through the Internet or your home LAN. Home automation, automation, Internet of Things (IoT), remote control and monitoring, etc., are some of the fields where this shield can be used. It is compatible with the Arduino Uno and Mega, plus the Ethernet and SD libraries are included in the Arduino IDE, so there is no need to download them.

The shield has a standard RJ45 connector for ethernet. The reset button resets both the shield and the Arduino. A great advantage of this shield is that it is stackable, so you can have all its pins in other shields.

There is a lot of documentation and examples on the internet, to develop this tutorial we start from the official documentation of ethernet shield:

https://www.arduino.cc/en/Reference/Ethernet

To carry out the Tutorial we need an Arduino Uno, an Ethernet Shield, potentiometers, Leds, breadboard, DuPont cables and an Ethernet cable to connect to our Modem, router or switch

. connection consists of just putting the shield on the Arduino and connecting the ethernet cable to a router or modem, and with that we are ready to program.
documents
Code
Sketch

COMMENTS

Please Login to comment
  Subscribe  
Notify of