![]()
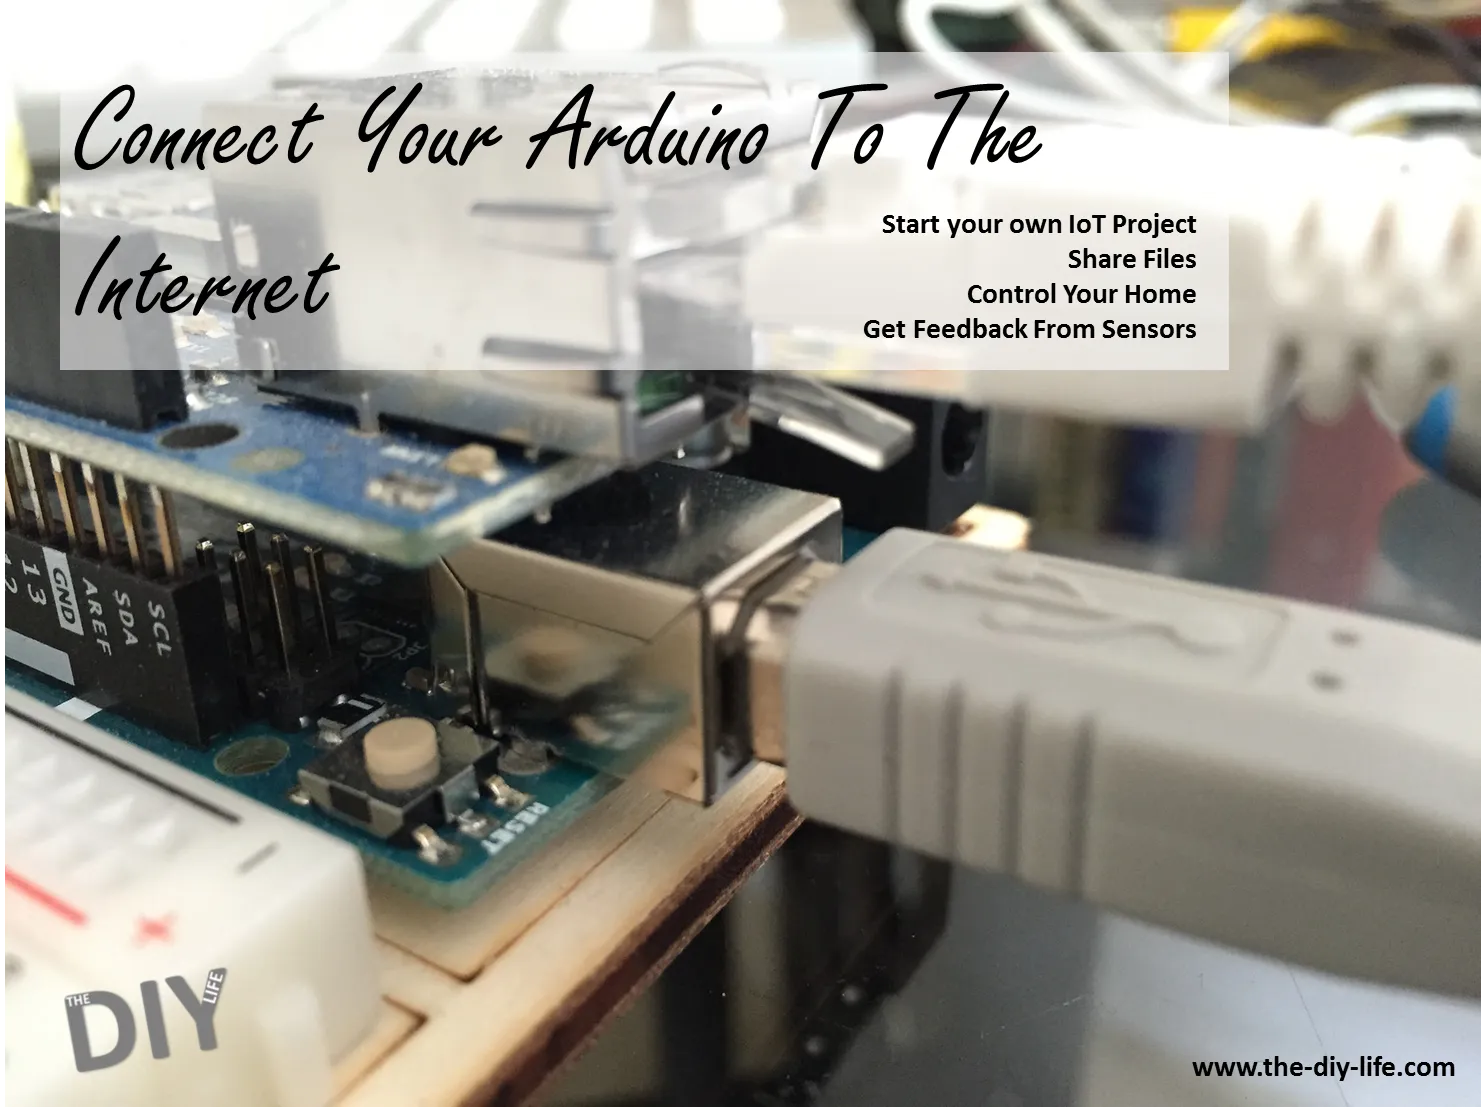
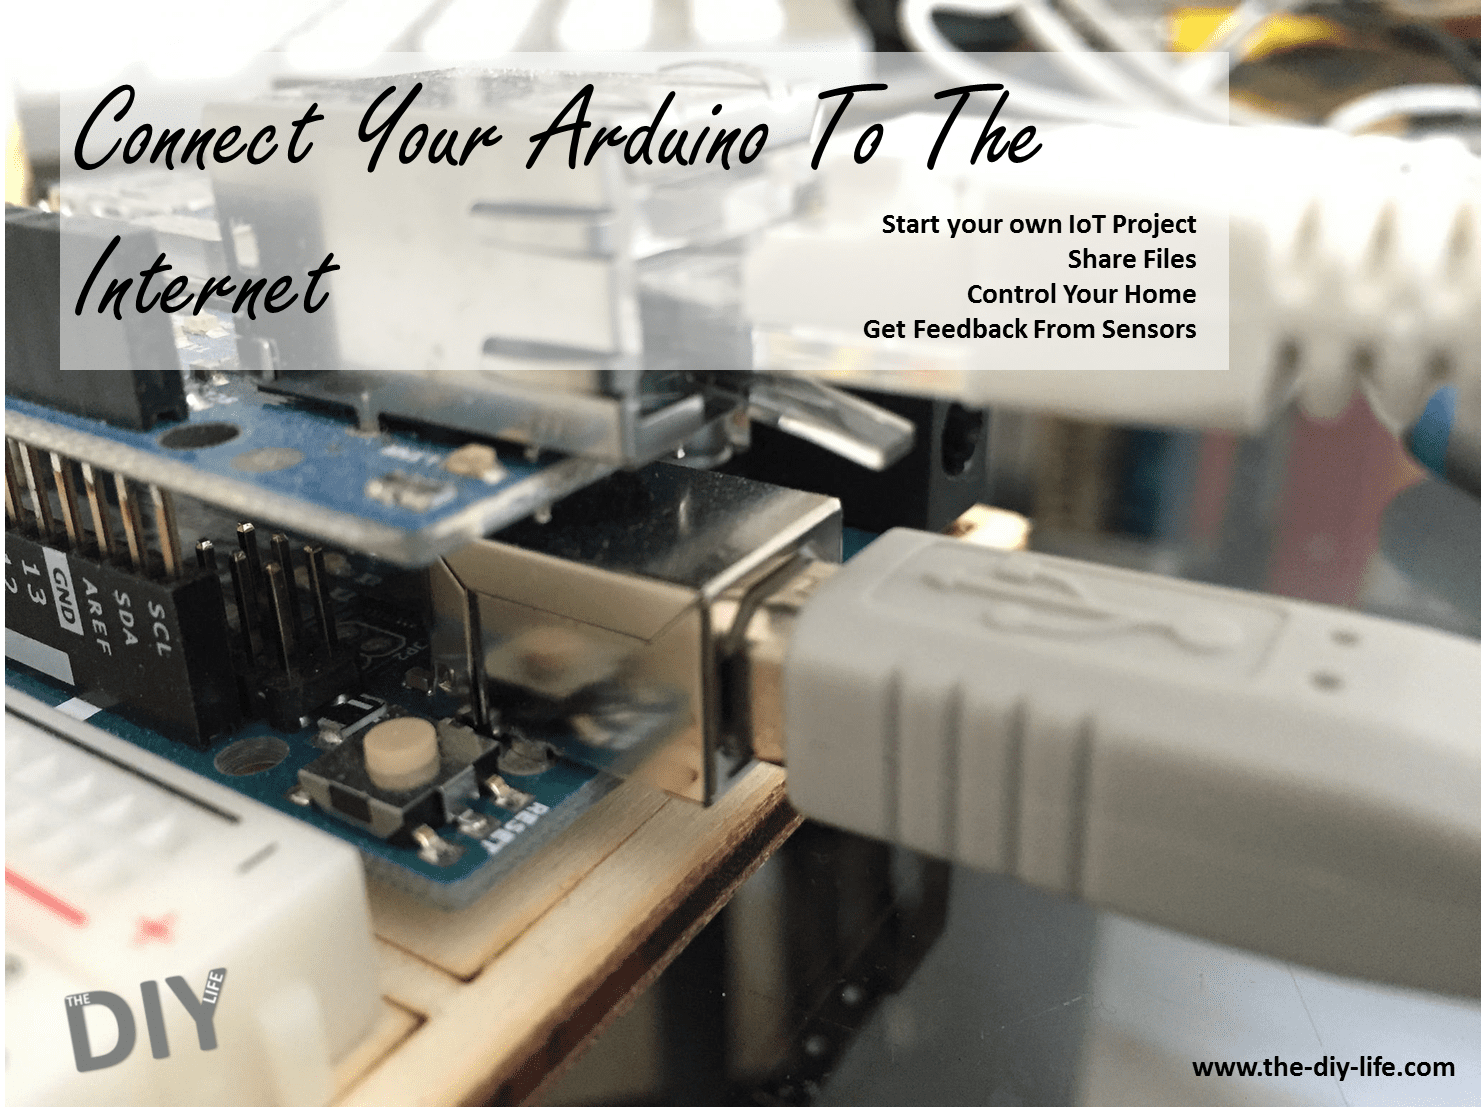
Wouldn’t it be great if you could access information on your Arduino from anywhere in the world? You could read information from sensors, access files or use it to control lights and electronics around your home and this is all possible with an Ethernet shield. An Ethernet shields allows your Arduino to connect to the internet via an Ethernet cable plugged into your router and enables it to communicate with the outside world.
There are two ways in which an Ethernet connected Arduino can be setup:
- As a Web Server, the Arduino acts as a web server which can be accessed from the internet. Commands can be sent to the Arduino and it can control things around the house. It can also be used to display information such as sensor readings on a web page or send stores files.
- A a Client, the Arduino acts as a web client and posts data to a database stored on a remote server. This is particularly useful for data logging or handling large amounts of information.
This guide will be dealing mainly with the first setup, getting the Arduino to act as a simple web server and serve a web page with some information on it. If this is your first Arduino project then we recommend that you read through our getting started guide to familiarise yourself with the basics and programming the Arduino.
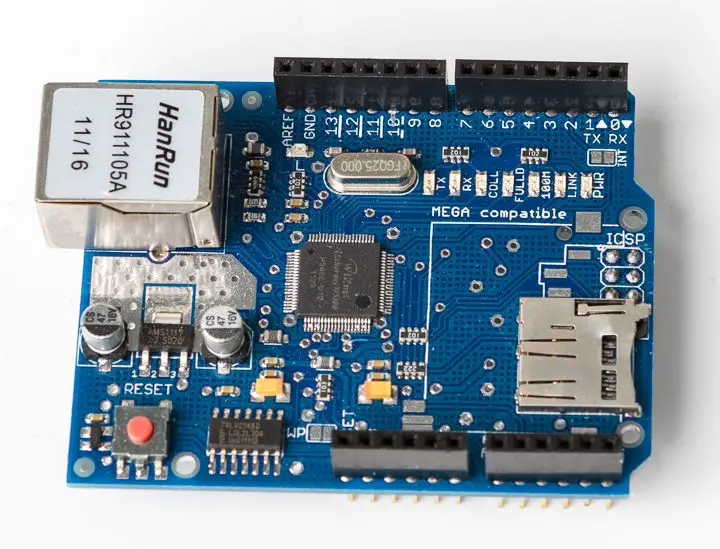
Arduino Ethernet Shield by Teardown Central
What You Will Need To Access Your Arduino Over The Internet
- An Arduino (An Uno is used here)
- Ethernet Shield (Needs to be compatible with the Arduino board)
- USB A to B Cable
- Router (Needs to be connected to the internet for external connections)
- Ethernet Cable (With RJ45 plug)
Understanding The Ethernet Shield
The first step in getting your Ethernet shield communicating with the outside world is to get a basic understanding on how the shield and an Ethernet network functions.
Your Arduino’s Addresses
Every device which is connected to the internet has an address, much like your home address. This identifies the device on the network so that data can be sent to and from the specific device. There are two types of addresses used to identify devices on a network, these are the MAC address which is unique to every device and is usually loaded when the device is manufactured and the IP address which may be fixed or may change depending on your network configuration.
When you plug your Arduino (or any device for that matter) into your router, your router automatically assigns an IP address to it which remains the same until the device is unplugged or it is switched off. The router manages all of the IP addresses within your home network and allows them to communicate to each other.
Your Router’s Addresses
A router has two IP addresses, an internal IP address and an external IP address. The internal IP address is used to identify the router to all of the devices connected to your home network while the external IP address is used to interact with the devices and servers on the internet.
These two addresses are quite important as you will need to use a different method to communicate with your Arduino over your local network and over the internet. When you access your Arduino over your local network, you can communicate with the Arduino directly through its own IP address whereas when you communicate with it over the internet, you need to access your router through its IP address and the router will then forward your commands to and from the Arduino.
Connect The Hardware
The hardware connections in this example are quite straight forward as we are not using any additional sensors or switches.
Plug the Ethernet shield into your Arduino making sure that the pin headers line up with the connect pins on the board and the shield.
Now plug the Ethernet cable into the Arduino shield and then into your home router. Plug the USB cable into the Arduino and then into your laptop, PC or Mac.
Loading The Arduino Web Server Sketch
The code is quite straight forward, shown below, although some HTML knowledge is advantageous for the actual web page which is served by the Arduino.
#include <Ethernet.h>
#include<SPI.h>

byte mac[] = {0011, 002B, 003C, 004D, 005E, 0066}; //Define your mac address
EthernetServer serve = EthernetServer(55);  //Create a server which listens on port 55


void setup()
{
  Serial.begin(9600);
  if(Ethernet.begin(mac) == 0)
  {
    Serial.println("Configuration failed");
    return;
  }
  else
  {
    Serial.print("Arduino IP:");   //Displays your Arduino's local IP address
    Serial.println(Ethernet.localIP());
  }
  serve.begin();
  Serial.println("Server Running");
}

void loop()
{
  Serial.println("Waiting For Client Connection");
  EthernetClient client = serve.available();  //Looks for incoming client connections
  if(client)
  {
    Serial.print("Connected to client: ");
    while(client.available())
    {
      char c = client.read();
      Serial.print(c);
    }
    if(client.connected())
    {
      Serial.println("Webpage Sent To Client");   //Delivers a web page to the client
      client.println("HTTP/1.1 200 OK");
      client.println("Content-Type: text/htmln");
      client.println("<center><h1>Connected To Your Arduino</h1></center>");
      client.println("<center><h2>Hello John</h2></center>");
    }
    delay(8);
    client.stop();    //Closes the client connection
    Serial.println("Disconnected from client");
  }
  delay(1500);
}
Download the WebServer code here.
The Basic Code Functions
We use the two built in libraries Ethernet.h which lets us use the built in Ethernet communication functions library and SPI.h which defines how the Arduino communicates with and controls the Ethernet shield.
Next we define the mac address for the Ethernet shield. If you have a genuine Arduino Ethernet shield then the mac address will be printed on a sticker on the back of the shield and you can remove this line of code.
Now we use the Ethernet Server function to create a server called serve which listens for an incoming connection on the specified port. You can change the port number if you’d like as long as there is no other communications running on that port already.
The setup method then starts up the connection with the router using the defined mac address and displays the IP address assigned to the Arduino in the serial monitor window.
The loop functions is then repeated which waits for client connections, connects to the client when a request is made and then serves a basic HTML web page to the client. This web page can be customised and can include sensor values, variables and strings etc. The loop function is run every one and a half seconds to check for client connections.
Upload the sketch onto the Arduino and open up the serial monitor on your computer, this is accessed through Tools > Serial Monitor. If your Ethernet shield is connected to your router, when the software is loaded and the Arduino starts up you should see your Arduino’s IP address, Server Running and then Waiting For Client Connection repeated every one and a half seconds.
Connect To Your Arduino Over Your Local Network
If you open up your internet browser on your computer (which also needs to be connected to the router either via WiFi or Ethernet) and type the following address into your URL address bar you should be served with your Arduino’s web page:
http://”Your Arduino IP”:”Port” for example http://192.168.0.5:55
You should then get a client connection notification on the serial monitor and shortly afterwards your Arduino’s served web page should be displayed.

Accessing Your Arduino From Outside Your Local Network
Finally, we need to configure your router so that you can access your Arduino from anywhere over the internet.
You need to login to your router’s configuration page, first of all, look on the base of your router or in its manual for information on accessing this page. Generally, it is accessed through the routers IP address which is usually the first in the local network range, if your Arduino’s IP address was 192.168.0.5 then it is likely the the router’s is 192.168.0.1. Type this into your browsers URL bar and you should reach your router login page where you will need to supply your router’s username and password, these may still be the defaults such as admin or administrator etc. They can be found on the internet for different manufacturers.
Reserve Your Arduino’s IP Address
Find the LAN settings in your routers configuration settings. Try to reserve your Arduino’s IP address, this is usually a tick box and you can identify your Arduino by the mac address or IP address. This means that your router will always assign that IP address to your Arduino.
Setup Port Forwarding
Now you need to set up port forwarding. Create a user defined port forwarding service which is forwarded to the port you set up in your Arduino sketch, 55 in this case. The port forwarding enables us to communicate with the Arduino from the internet. The router takes the request made from the internet to the router and forwards the request to the Arduino on the correct port inside the local network.
Now look for your routers connection information page. You need to find your routers external IP address, this is different to the internal IP address and is the address that your service provider provided to your router when the router was switched on. This should be displayed somewhere with the connection status or connection information.
Save the settings and close your router page.
Access Your Arduino From The Internet
Your should now be able to access your Arduino from any internet connected device. Simply type in the address as above but this time with the routers external IP and the Arduino’s port:
http://”Router External IP”:”Port” for example http://172.16.5.5:55
You should now be served with your Arduino’s web page.
If you’ve managed to get the webpage to load correctly, now try to connect a sensor or switch and display the readout or status of the switch via your web page. This is the perfect start to your next Internet of Things project.
Did this guide help you? Please let us know any questions or queries you may have in the comments section below. If you enjoyed this project then try building your own Raspberry Pi Cloud Storage or build a home energy meter using your Arduino and start monitoring your energy usage.
Arduino Ethernet by 37Hz
Share This Guide:
COMMENTS