
In fact, if you look at the article getting the Zephyr Ball Home, it’s all there. It’s just English. Still, there are some things that are a little bit ambiguous, and I’ll try to explain them in a way that matters. Zephyr getting started👇👇
https://docs.zephyrproject.org/latest/develop/getting_started/index.html
Getting Started Guide — Zephyr Project Documentation
This is the documentation for the latest (main) development branch of Zephyr. If you are looking for the documentation of previous releases, use the drop-down menu on the left and select the desired version. Getting Started Guide Follow this guide to: Set
docs.zephyrproject.org
I’m a Mac user, so I’ll explain by Mac standards, but Zephyr supports Linux, Windows, and Mac alike. For those who are used to working in a terminal environment, go to getting started and choose the right one for your OS and try to follow along.
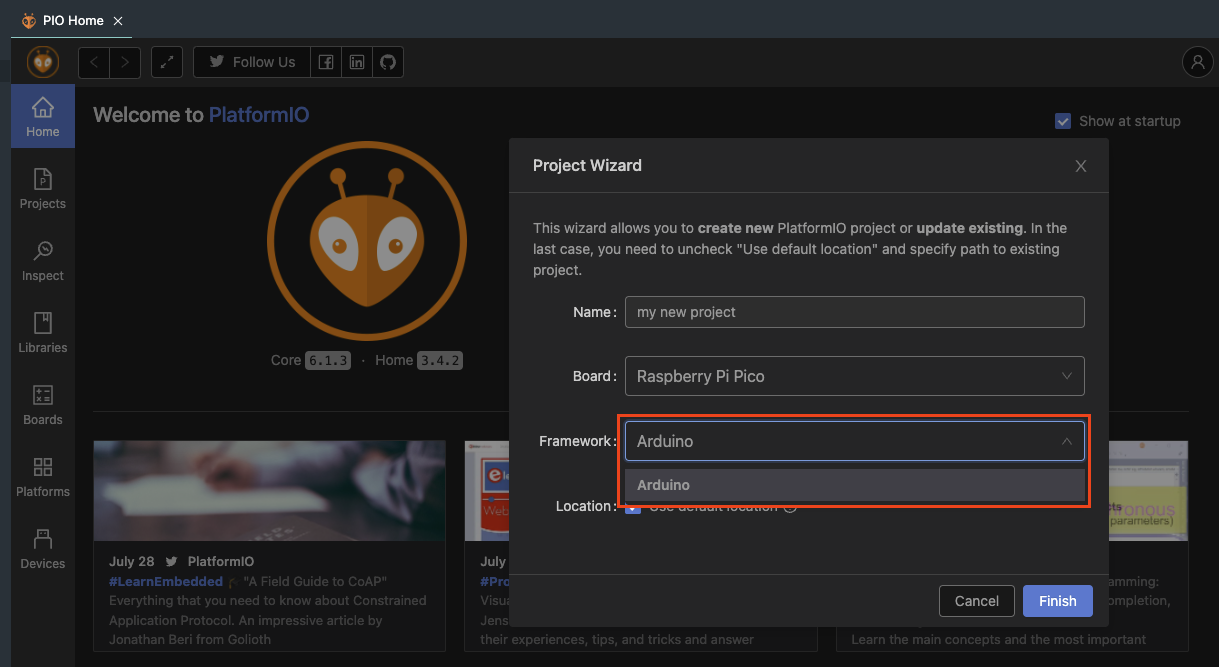
By the way, people who are familiar with the Windows environment. I think it’s going to be a little hard for people who used only IDEs like IAR and stm studio. It’s basic for Zephyr to start with the Linux Foundation and work in a grunge terminal environment, as is the case with building or flash. There’s a bit of a barrier to entry. That doesn’t mean you don’t have an IDE at all. I can also use it as a way to add a Platform IO extension to VS CODE, but the RP2040 I’m trying to use only supports the Framework Arduino, so Zephyr is still there. And I didn’t even have the option to add a new board.
So I worked in a terminal environment from start to finish. Again, since we’re doing it in a Mac environment, let’s take care of it for those who use other OSes ha ha
It can be updated, so don’t follow this blog as it is, just check the official website! Please~~
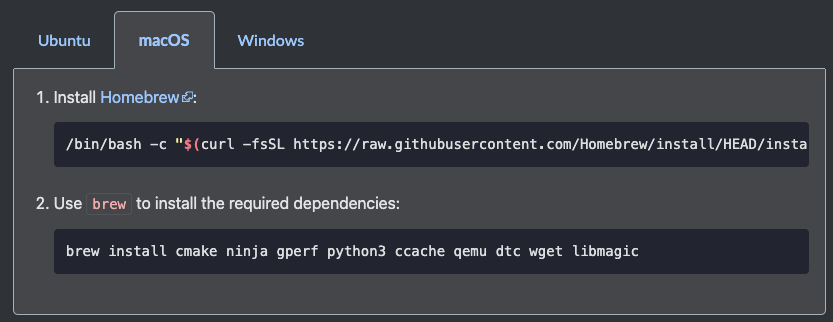
1. Install the homebrew package manager
/bin/bash -c "$(curl -fsSL https://raw.githubusercontent.com/Homebrew/install/HEAD/install.sh)"2. Install the required packages with brew (homebrew)
brew install cmake ninja gperf python3 ccache qemu dtc wget libmagic3. Install 👉 West and you can do things like build the Zephyr project, flash programming, and debug with the west. You can also install a library for Zephyr. And since I use pip3 to install west, I need python3 to be installed, right?
pip3 install -U west4. Initialize and update the zephyr project to west.
west init ~/zephyrproject
cd ~/zephyrproject
west update
5. Jeffer Project cmake package export: A command that allows cmake to load the code needed to build the Zephyr project on its own.
west zephyr-export6. Install the python Defensive package in the scripts/requirements.txt file with pip3
pip3 install -r ~/zephyrproject/zephyr/scripts/requirements.txt7. Install the Zephyr SDK Here it says that anyone using the Apple M1 Core should change the x86_64 to aarch64…. I can’t see this.. Will it be a problem later 😢 the clog is installed? No, I’ll have to do it again, 😢 everything is going well… That could be a problem later, though… Needle, don’t make a mistake~
Apple predecessor
cd ~
wget https://github.com/zephyrproject-rtos/sdk-ng/releases/download/v0.14.2/zephyr-sdk-0.14.2_macos-x86_64.tar.gz
wget -O - https://github.com/zephyrproject-rtos/sdk-ng/releases/download/v0.14.2/sha256.sum | shasum --check --ignore-missing
Apple M1 Model
cd ~
wget https://github.com/zephyrproject-rtos/sdk-ng/releases/download/v0.14.2/zephyr-sdk-0.14.2_macos-aarch64.tar.gz
wget -O - https://github.com/zephyrproject-rtos/sdk-ng/releases/download/v0.14.2/sha256.sum | shasum --check --ignore-missing
8. Unzip the downloaded
Apple predecessor
tar xvf zephyr-sdk-0.14.2_macos-x86_64.tar.gzApple M1 Model
tar xvf zephyr-sdk-0.14.2_macos-aarch64.tar.gz9. Run the Zephyr SDK setup.
cd zephyr-sdk-0.14.2
./setup.sh
The installation is only up to this point. Next, let’s turn the LED flashing example back to what is in Getting started.
cd ~/zephyrproject/zephyr
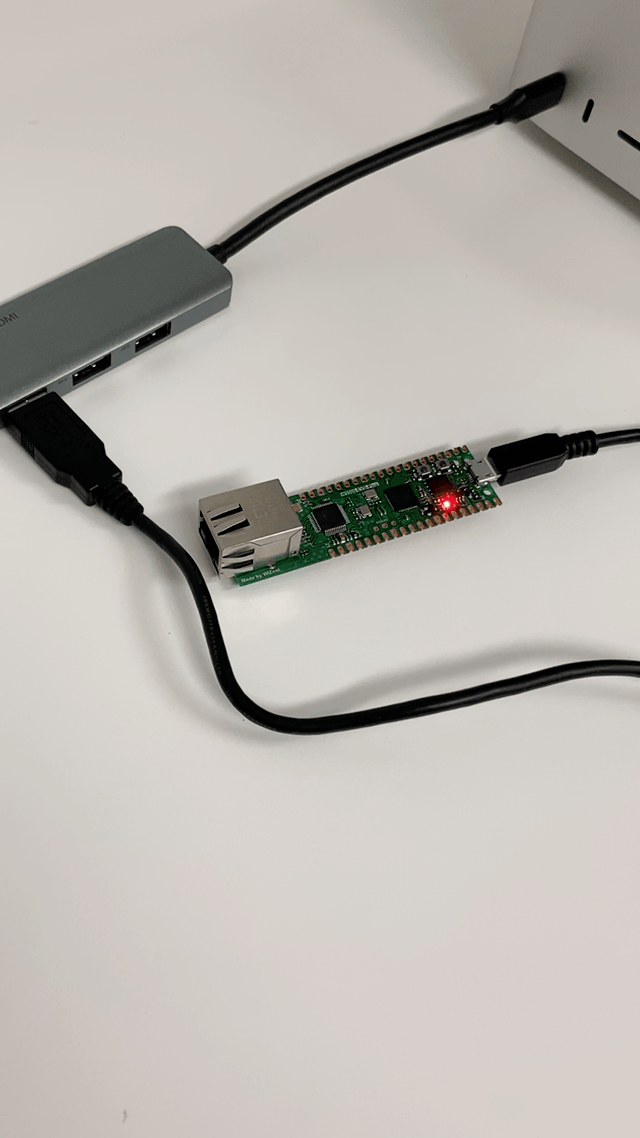
west build -p auto -b rpi_pico samples/basic/blinkyThis will work hard to build and generate a binary file in the ~/zephyrproject/zephyr/build/zephyr folder. -_- Folder dreadfully complicated. The next way to solve this is the “zephyr.uf2” file that we need for rp2040 among the binary files generated and which uses the uf2 extension. I don’t have a SWD debugger right now, so I’m going to program it in flash by recognizing the W5500-EVB-PICO board as USB memory and then copying the binary files.
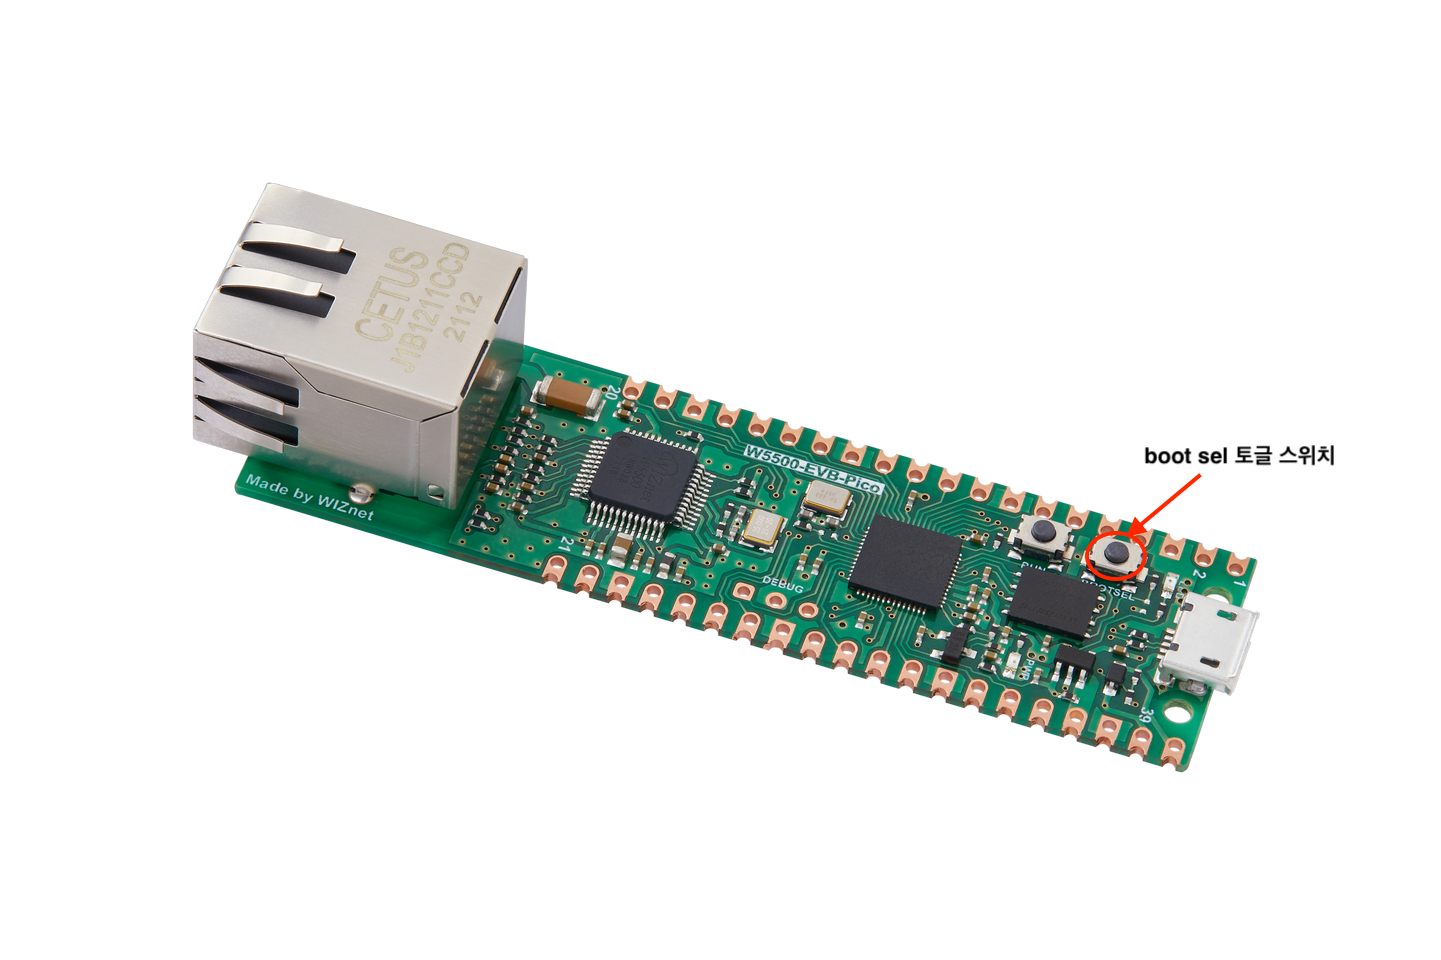
The way to get to the boot sel toggle is simple by holding down the switch and plugging in the USB cable to the end.
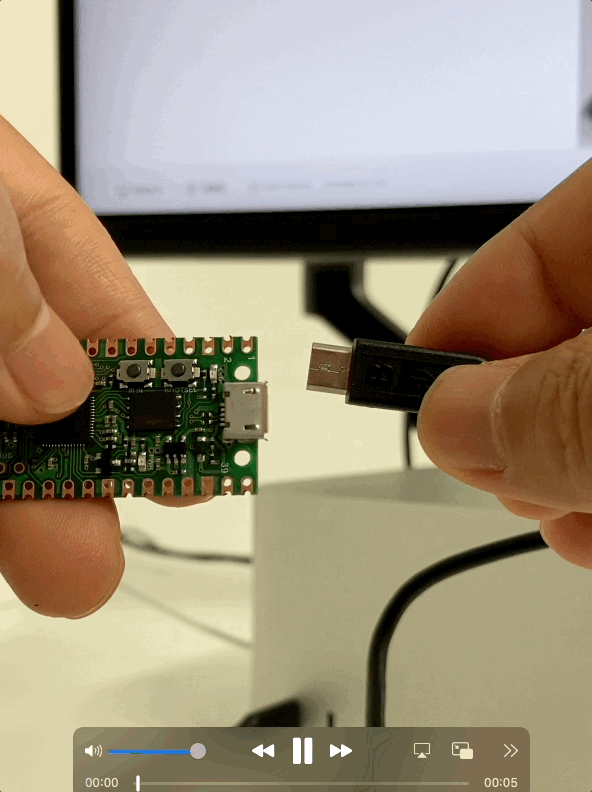
This connection will detect a new USB disk device named RPI-RP2 (based on Mac OS), which is done by copying the previously created “zephyr.uf2” file from it. The USB disk disappears immediately, and the LED flashing zepher program is activated.

If you can see the blinking in a 2-second cycle like the one below, it’s a success. Easy? haha this is something that just has to be done.
Now I have to build a real development environment, I have to create a new project folder and upload it to github, and that w5500-evb-pico is not an official support board from Zephyr. So you don’t have to create a new device tree as well. Things to do since then are heaven and earth ha ha
출처: https://engschool.tistory.com/126 [Engineer School:티스토리]
COMMENTS