I have a Sonos system at home and love the simplicity! In the kitchen I have a Sonos Play:3 and to play something I just have to pick up the phone and choose a song and it plays.
In the living room however I have a Sonos Connect connected to my amplifier. To play a song here i first have to power on the amp, choose the correct input and then choose the song on my phone. This I want to simplify.
The idea is to have a device connected to the Sonos system which is able to control the amplifier using IR commands. As an added feature I would like to control some functions of the Sonos device with the remote, because that is easier for the kids.
Step 1: Step 1: Hardware


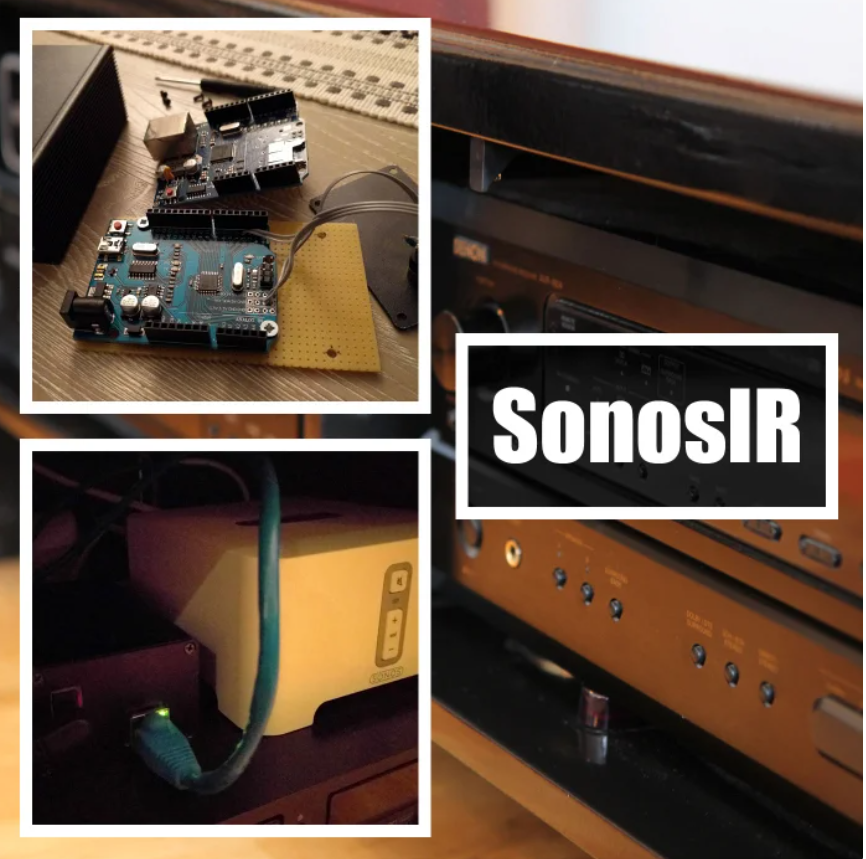
To be able to achieve the goal you need a bunch of hardware. An Arduino Uno is often a good starting point. If you don’t know what an Arduino is, google it. I will not use up space and time to explain that here…
Since the Sonos device has a 2 port ethernet switch in the back a simple ethernet shield for the Arduino should do the job. IR interfacing is done with a IR blaster to send signals to the amplifier and IR reciever to recieve remote control input
I bought all my hardware on eBay:
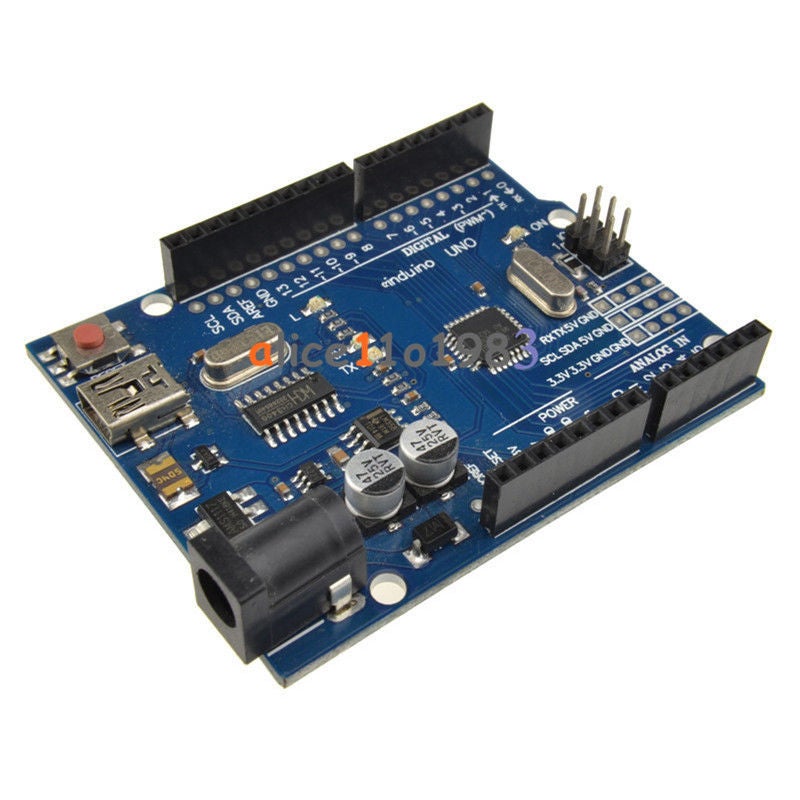
Arduino UNO R3 clone
Ethernet Shield W5100
IR blaster with cable and 3.5mm jack plug
IR receiver with cable and 3.5mm jack plug
2x panel mount 3.5mm female jack connector
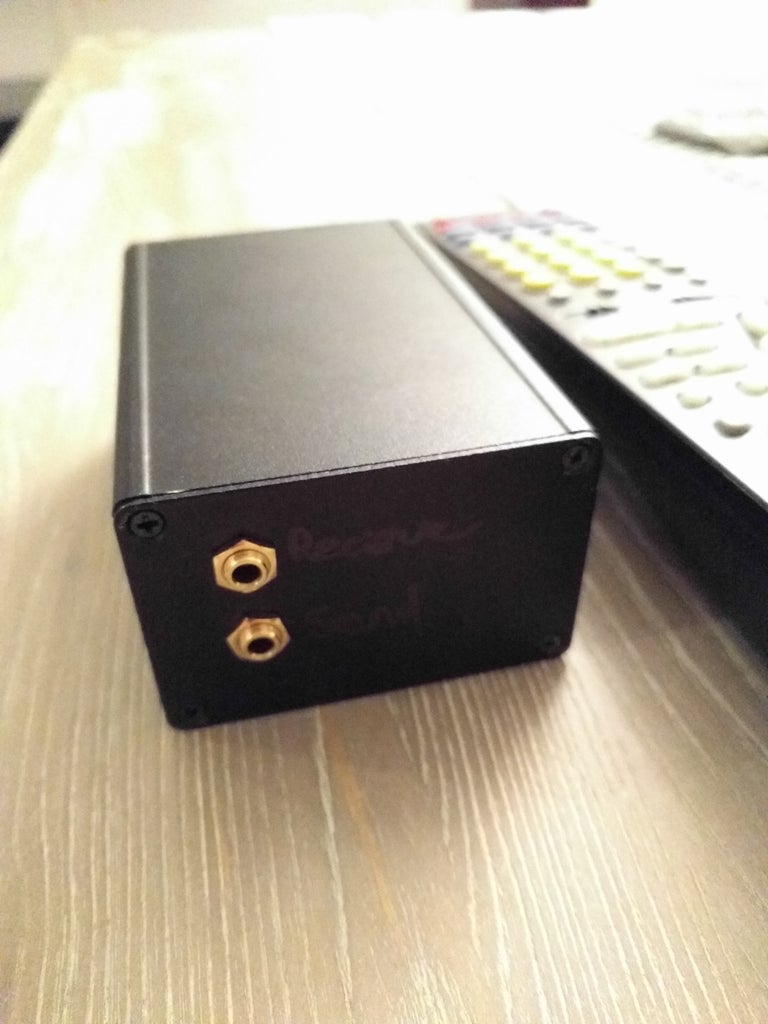
Aluminum Box 100 x 66 x 43mm
Small resistor around 100-200ohm
Some cable
Total cost is around $30.
Step 2: Step 2: Protocols & Libraries
This step is just theory. You may skip this step but it may be useful to in order to understand and the project.
Sonos devices use UPnP to communicate. Messages are sent back an forth as xml files. These files, or data packets can be read using a network sniffing tool like Wireshark. Luckily for me people have already done this job this on a lot of commands. And even better, someone has made a Arduino library handling this. Google “arduino sonos upnp” and you will find it on github.com
An arduino library is basically a bunch of c++ source code files which are stored in the Arduino program folder or your local users arduino folder often inside the documents folder. This c++ code can be included and accessed from the Arduino project files.
IR is a well known technology. You find it in almost every audio/video device. The main hardware consists of an IR diode in the remote control and an IR receiver in the A/V device. The diode emits infrared light in a given pattern which the IR receiver “sees” and translates into electric pulses which is decoded into a numerical value. Each button on the remote control has its own pattern of light and corresponding value. There are many Protocols or ways the numerical value is coded into electrical pulses and light patterns. There are of course Arduino libraries for this as well. There are many! Choose one which supports your protocol. I ended up using one called Arduino-IRremote on github.com.
Step 3: Software
The difficult part of the software is in the libraries. We just have to tie stuff together.
The idea is to poll the sonos device each second and if the state changes from stop or pause to play I want to send a power on IR signal to the amplifier.
I also want to receive IR signals from the remote control and if the play, stop, or skip buttons are pressed I want to send a corresponding command to the Sonos device.
My amp uses the Sharp protocol so all code is according to this. The IR library I ended up using was missing the Sharp protocol so I had to modify it a bit.
(To figure out which protocol your amp uses you can download one of the examples in the Arduino-IRremote library to your arduino and connect the IR receiver to the correct input)
See the attached Arduino code file.
The code is downloaded the the Arduino Uno board using the Arduino IDE and a USB cable.
Attachments

Step 4: Connecting Everything and Test

” width=”1024″ height=”576″ loading=”lazy” frameborder=”0″ data-wat-video-found=”true” id=”waf_detected_youtube0″ style=”max-width: 100%; position: absolute; top: 0px; left: 0px; width: 1200px; height: 675px;”>


The IR Receiver and Blaster both have 3.5mm jacks. So you just have to figure out which pin is what and connect the rack-moumted 3.5mm female plugs to the Arduino using some thin cable. I used some old ATA/33 hard-drive cable. Th Arduino Uno clone I bought of eBay conveniently enough has through-hole solder points for all I/O plus GND and 5V so soldering the cable to the board is easy!
The IR blaster needs a resistor in series to get the correct milli-amps according to the specs. The Arduino Uno uses 5v for the I/O pins so choose a resistor accordingly (ohms law…)
Then i drilled holes in the aluminium box and mounted the Arduino on a spare copper-free prototype board. You could probably use any kind of board as long as it fits the box. The Ethernet port I made a hole for using multiple holes and filing it smooth.
The IR receiver is placed under, and the IR blaster is placed above the amp. I wanted to have these as invisible as possible but still have good signal. It came out quite nice!
And does it work? Check out the video! 🙂
Good luck making your own version!
COMMENTS